Showing posts with label Floral Craft. Show all posts

Thursday 27 October 2022

Remembrance Day Display


We always try to do a display at the Flower Shop and I loved making all of the pieces for Remembrance Day to put this one together.


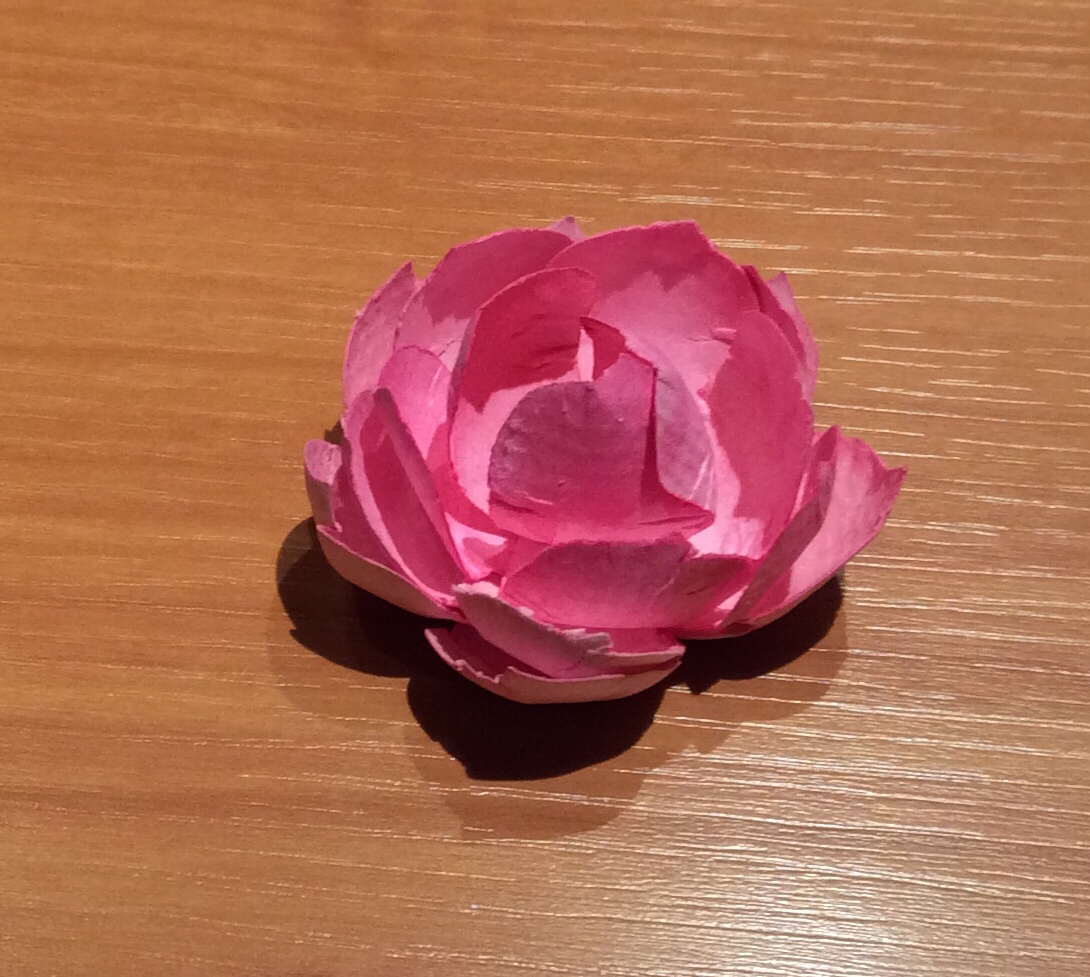
So I started with Poppies making loads but unsure what they were for.
I thought maybe a wreath. It is also pretty lucky that my husband is a dab had at carpentry so I request a free standing cross and of course he obliged.
I needed rocks for around the base of the cross and mine started life as brown packaging paper which I painted then dry brushed to get the effect.
I had them drying all over my kitchen benches.


Once dry they were scrunched up and dry brushed with white paint which worked beautifully


I painted the wooded cross white and added the Lest We Forget and soldiers with black vinyl cut using my electronic cutter.


As you can see it all came together quite nicely.
I just needed to set the scene.
So here it all is in place in the Flower Shop


I added a camouflage net the wreath, some boots and army trousers.


I used up the extra paper poppies on our work bench.


All in all I’m really please how this has turned out.


Monday 19 October 2020

Flower Pro Poppy Mould by KatySue Designs

The Poppy Mould by KatySue designs I used to create a Remembrance Day model last year is still one of my favourite silicone moulds, It was designed by the fabulous Chef Nicholas Lodge along with the Flower Pro Fern mould. 


When you buy from the Flower Pro collection you are buying into a whole educational program that leads you buy the hand to create amazing realistic flowers with step by step videos, isn't that just fantastic?
So I used a fabric hardener (Powertex) to create this model and if I was to put it in the garden I would spray it with a weatherproof varnish.


and the educational video can be watched here How to make the Flower Pro Poppy

Thursday 28 January 2016

Floral Craft, Bearded Iris

We are busy at home getting our living room updated and whilst the workmen were hammering and banging I retreated to my craft room for some sanctuary.
I cut out a few shapes and started with my Bearded Iris, hard to believe that this flower started life as white copy paper. I used the Sizzix Bearded Iris dies to cut the shapes.


I used Hunkydory Adorable Scorable for all of the matting and layering and all of the foliage and some of my floral craft leaf punches, as you can see the Adorable Scorable embosses beautifully with embossing folders.


I first coloured the copy paper petals and leaves with ink from my inkpads and then used pan pastels for the shading.
I used a ball tool and a scoring tool to shape and add lines to the petals.

The center stamen of the flower after inking yellow was dipped in glue and dipped into some flowersoft.


All in all a lovely morning well spent.


I did make another card so hopefully I’ll get that one wrote up soon.


Saturday 23 May 2015

Cold Porcelain Flowers

What a fabulous start to the bank holiday weekend, a day making cold porcelain flowers at

Craft-e-Liza

Here is what I made today. Snowdrops and Crocus.

Crocus and Snowdrops1

They even survived a 140 mile trip home.

Crocus and Snowdrops2

I have been promising myself a try at this and when the chance came along I grasped it with both hands.

Meryl makes you very welcome and I spent the day with fabulous company our Ruth from Hunkydory having a good old chin wag and giggle.

If like Ruth and myself you used to do sugar craft then this relaxing craft will be right up your street.

Jak Signature

Friday 27 March 2015

Peony Wreath Silhouette Portrait

As I said I have been making so many 3d projects and I think this Peony wreath is amongst my favourites, it is another Jamie Moore Cripps design which can be found in the Silhouette Store.

Peony wreath1

I added some hessian and some additional foliage to the design, and used some distress inks to give it some extra character.

Peony wreath2 

Jak Signature

Friday 20 March 2015

Spring has Flower burst with Couture.

It has took me some time to get this together, little bits here and there when I was feeling well enough but with the help of Hunkydory Adorable Scorable and Glitter Glaze card stock, My Silhoutte Portrait and the Couture Flower Burst die collection I got there in the end.

Flowerburst1

Even the center flower was made using the Flower Burst die collection.

Flowerburst2

I figured you might like to know that the flower was made using a couple of the reflection set dies.

Photo 18-03-2015 13 52 46 Photo 18-03-2015 14 37 55Photo 18-03-2015 14 38 21 Photo 18-03-2015 14 51 29Photo 18-03-2015 14 52 00

Jak Signature

Monday 27 October 2014

Flower Making

Sometimes we tend to over complicate things don’t we?

I decided I wanted to make some simple flowers for home decor, the easy way, something simple yet stylish, something that wouldn’t take me hour and hours of time.

I decided that material was the way to go and I spotted some gorgeous Suede fabric over on Terry’s Fabrics that would be perfect for what I wanted.

Simple we said right? lets start by cutting 3 circles, not perfect circles just roughly cut by hand, now cut out 3 smaller circles again by hand, they do not need to be uniform sizes in fact they turn out better if they aren’t uniform.

suede flowers2

Next light a candle maybe a tea light or a scented one just to add fragrance to the house while you work, take one of the circles and run the edge of it over the flame, this will seal the edge and give it a darker edge, continue to do this with the rest of your circles. Be responsible and keep fingers out of the way and do not leave the candle burning unoccupied.

Next we need to stick the layers together with the larger circles on the bottom and the smallest to the top, you can do this by sewing them together, using a fabric glue or if like me you like quick results a hot glue gun.

Next find some beads to add to the centre, I hot glued mine but you could sew them in place.

Tadaaaa your done.

suede flowers1 

Jak Signature

Thursday 15 May 2014

Flowers Galore

I forgot to add some of the cards I made at Create and Craft last weekend so here they are.

Double Dutch card using the cream hammered and the double sided mirror board.

CCDouble Dutch

Card on Card overlap with Fuchsia's, made with Topsy Turvy and linen card.

CC overlap card1open view

CC overlap card2

Topsy Turvy Poppy card

CCpoppy

And another rose made in my hotel room.

CC flower

I have new show times starting tomorrow on Create and Craft TV

Freesat 813 -  Virgin 748 - Freeview 36 - Sky 671

 16-May, Friday 14:00, 18:00 -

17-May Saturday 11:00, 17:00 -

18-May Sunday 10:00, 15:00 -

19-May Monday 10:00, 17:00

Jak Signature

Sunday 11 May 2014

Handmade Flowers

A girl needs to fill her time in somehow whilst sitting in a hotel room on an evening, I've never been one for venturing out on my own so I thought I would bring something to occupy my time.
A watercolour pad and paints, a paint brush, scissors and glue.

My friend Lizzy told me about a new tool on the market and I had to get it .
The Marion Smith Bloom Impression Tool, a simple little thing really.
I cut out the petals by hand and dampened the paper before adding a watercolour wash to them.
I thought it was very nice of the hotel to leave me a laminated sheet on the dresser, perfect to wipe clean when I was finished.
While the petals were still damp I began using the press.
Placing the petal on the hollow side.
Then pushing the two together, giving it a little twist.
Then hey presto a petal is formed.
I started over with another batch in yellow and then set them out in a neat row all ready to be stuck together and shaped into a beautiful rose.
You can see from the photo below I stated with 3 for the center then 4 then 5 and the last layer of 6.
I think you can see that the end result is something quite beautiful.
And from the side.
And one in pink.