Showing posts with label Video Tutorials. Show all posts

Thursday 3 December 2020

Make your Own Chocolate Santa Sleigh

I made these chocolate Santa sleighs many years ago when my Grandson was very young and as he couldn't remember them I thought I would do it all again for this year, I think everyone would agree we have had a very weird Covid year and could do with something to cheer us up.
 
Chocolate Santa Sleigh

I filmed making these so that you can see how easy they are to construct.
I will place them at each setting for the Christmas dinner but they would be equally fun as a gift for someone.


Happy sleigh making.


Sunday 10 March 2019

Multi Layered Heat Transfer Vinyl How To

How to start with layering HTV ( Heat Transfer Vinyl)
When you see a multi coloured design using vinyl it can be a little daunting but it doesn't need to be.


 Where do you start? well I think finding a design that you like is a very good starting point. Then I would say finding a vinyl that is of good quality that has been trialed and tested.
That is where GM Crafts comes in. For my project I used the Premium Vinyl, it's flexible and just look at the colour range.


Once you have your colours you need to take your design into your electronic cutting machine ( I used Silhouette Cameo) 


When I send to cut it was easier for me to cut by colour fill, see the pic below.


Once  each colour of the vinyl is cut and the weeding is finished then the fun of adding it to your project begins.
I found it best to print my design out onto paper and add it between the layers of the T-Shirt, I could see the design through the T-Shirt making it much easier to know where each colour needed to be when pressing.


Working one colour at a time and pressing for 5 seconds until all layers are completed.


Once I have all of the vinyl colours on the T-Shirt I gave it a final maximum 10 second press and then you're done, For an EasyPress machine follow the manufacturers recommendations.


This could be the perfect way of using up all of your colour scraps.


Products used and links.

Child's T-Shirt in white


Tuesday 28 June 2016

Fancy Fold Concertina Card

having been asked again for the instructions from another card that I demo'd on Create and Craft TV for Hunkydory.
 I have made and instruction video and made a printable sheet to help you out.
This is a picture of how the card should look finished.

and a side view
the video will make it all clear for you.


of course you may want to print out a visual, it isn't to scale but the measurements are listed for you.


Thursday 23 June 2016

Book insert from TV Demo

As promised I did a template and a how to video of the book insert card.
I have to admit I was really pleased how this turned out.


For the template you can click here for a PDF that you can print out.

hope this helps you all

Monday 21 April 2014

Ribbon Bow Tutorials

So many of you ask where the ribbon tutorial was on my blog after yesterday's show with Martyn that I thought I should relist it on my blog for you all.

This is the double bow tutorial

And this one for the single ribbon bow.


Enjoy


Monday 28 January 2013

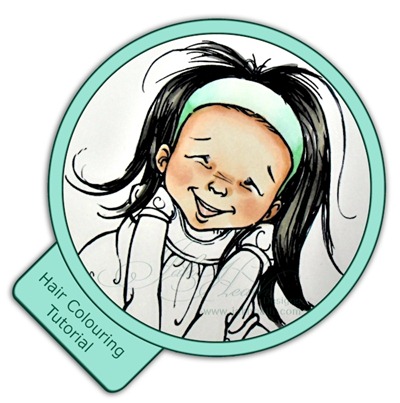
Colouring Hair–Video Tutorial

I thought that after the skin Tutorial the next this you would need would be a tutorial on colouring Hair. So I sat down and did another video tutorial for you.

Hair

I kept to the same image, So Funny by Mo’s Digital Pencil as I figured that some of you may have bought her.


I hope these are of some help to those of you learning to colour.

Jak Signature

Saturday 26 January 2013

Colouring Skin Tutorial–FlexMarker

When it comes to colouring skin FlexMarkers have it covered, the brush tip allows for perfection in blending techniques.

I've made a video tutorial showing step be step how it's done and some still pictures to show the build up of different colours.

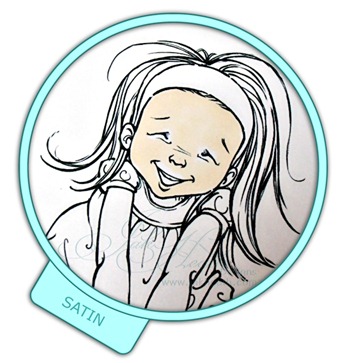
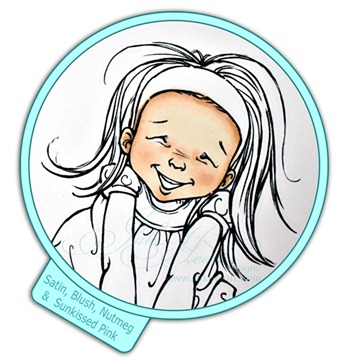
Step 1. Colour the whole area with Satin FlexMarker

Satin

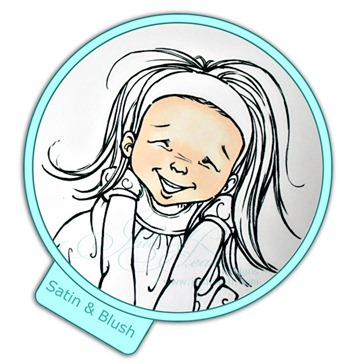
Step 2. using the Blush FlexMarker go around the hairline, across the cheek area, the bridge of her nose, under her eyes and chin.

Satin_Blush

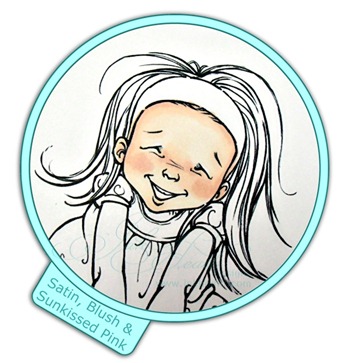
Step 3. Use Sunkissed Pink on her cheeks, hairline and in the corners of her eyes.

Satin_Blush_Sunkissed_Pink

Step 4. Use Nutmeg to deepen the hairline, just adding the very tip to the corners of her eyes and the crease on her nose.

Satin_Blush_Sunkissed_Pink_Nutmeg

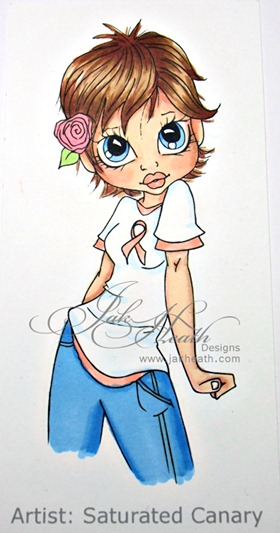
Image used is So Funny from Mo's Digital Pencil

Jak Signature

Friday 16 November 2012

Just Inklined Cd Digital Stamp Resizing Tutorial

Since the Launch of The Best of Just Inklined 2012 we have been asked how to resize the images and how to print more than 1 on a page. This tutorial will take you through step by step showing you how to get to the images and get them to work best for you.
An easy tutorial showing how to open up your digital stamp in word allowing you to resize and manage the images with ease.


Saturday 22 September 2012

Hair Colouring Tutorial updated

Sorry for the delay but the hair colouring tutorial is now working.
Dont forget to leave a comment on the tutorial post for a chance to win 20 new shades of AquaMarkers

Aquamarker Tutorial, 20 New Colours Blog Candy

We have 20 new shades in AquaMarkers, isn't that brilliant? I wanted a way to show just how well they work for crafters as well as artists so I started to do some hair colouring.
This is a video what I came up with, you will see just how quick and easy these are to work with.


So for a little view of some of the gorgeous new colours.
Vintage Blue, Rusted Red, Viridian, Lagoon, Oak and Dusty Plum.
Also Saltwater, Bitterwood, Quicksand, Plum Blush, Granite and Pink Champagne
visit the Letraset Blog here
If you leave a comment on the blogs I will be choosing a lucky winner to receive all 20 of the new colours
Image used is from Saturated Canary Digital Stamps and the water-brush is from Kuretake


Thursday 2 August 2012

Some News that I’ve been itching to tell you

As most of you know I have a bit of a thing for ribbon, basically I love the stuff, it took me a Nano second when I was asked if I would like to join the spotlight tutorial team for Ribbon Carousel and today it is my turn for the spotlight tutorial.

Jak tut 

Today is my turn for a tutorial so I’d love it if you could pop over to the blog and leave me a comment I’m making ribbon flowers this is the link http://blog.ribboncarousel.com/

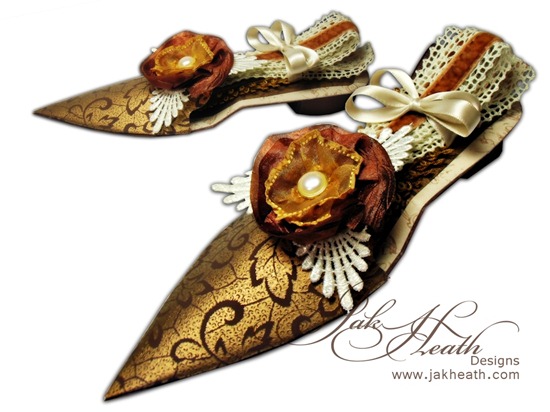
I added my flower to a Vintage Slipper.

Vintage_Slipper_R_C_jak_heath

To see the video on how I made it go to http://blog.ribboncarousel.com/

Jak Signature

Sunday 10 June 2012

Flexmarker Tutorial–Blending

Snapshot 1 (09-06-2012 15-11)

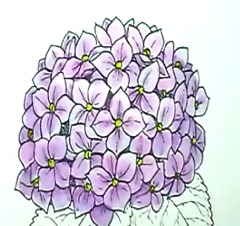
I often get asked what colours I use in my colouring but to be honest I never know, I don’t really have a logic colour scheme as I just test on a piece of scrap card and if I like the blend I use them.

So one of you lovely ladies asked what colours I used for the Hydrangea I new I was going to have to do another to find out, so, it would be logic to do a tutorial video while I was colouring so here it is.

So before you click play, go and grab a cuppa and a slice of cake and sit back down to watch.

Jak Signature

Thursday 7 June 2012

Colouring Hair–Tutorial

I had loads of demo’s ready for the Letraset show on Create and Craft but the time slipped by and some of them I didn’t have time to show you, so I thought I would video this one on colouring hair.

The image is Boobi Love which was a free image from Saturated Canary for a short while.

Firstly the finished image.

Boobie_love

Tutorial Video

Friday 9 December 2011

Flexmarker Video Tutorial

Flexmarkers are so easy to use, the ink stays wetter, longer, allowing you time to blend with ease.

This card is one I made a video tutorial with when Letraset were about to release them.

card with background

So lets see how they work and what you can achieve with them.


Letraset Flexmarker Tutorial

Jak Signature

Wednesday 14 September 2011

double bow tutorial

I promised to get a tutorial video done of how to make a double ribbon bow and today I found a little time to sit down and get it made.


Tuesday 26 April 2011

Ribbon Bow Tutorial

After being asked so many times how I make the bows for my cards and designs I have made a quick video tutorial for you all, I hope you find this useful


Thursday 24 February 2011

Monkey Hug by Mo Manning and Tonic Studios

it has been a while since I did any distress work and whilst at the Trade Show the gorgeous Kirsty Wiseman introduced me to Tonic Studios and they gave me a goody bag and are now sponsoring me, if you didn't already know they make many of the Tim Holtz tools so after a rummage in my bag I decided to give a couple of their tools a whirl on my card.

I had Monkey Hug on my craft desk all readty to colour on my return from the Trade Show so I set to it today, coloured with Copic markers and airbrushed the background to the image.
Tutorial on the distressing below the card image.


Tutorial with the Tonic Studios distressing Tool and the Craft Pick


Wednesday 16 February 2011

Easel card tutorial

I know I have been asked many times how to make the Easel base card so here it is, a little tutorial video, ideal sizing for the Nice n Easel decoupage by La Pashe, the board I am using is the ScorPal, love this board.

Monday 14 February 2011

Build a Blossom Tutorial Pansy

Do you remember me saying that I'd had a bit of a week at work last week and that Peeta my workmate was trying to steal my thunder. Well here it is a New Star is born I think that Tim Holtz will be quaking in his shoes when he sees our Peeta's Video.
Please leave some comments as Peeta is a bit of a diva and needs the compliments.


Wednesday 2 February 2011

Build a Blossom Tutorial - Gardenia

I thought it would be nice to show you just how I made the Gardenia Flower for this card so I've added a Tutorial Video to show you just how easy it is.
Build a Blossom Sheets can be found at La Pashe

Video Tutorial for the Gardenia Flower