Wednesday, 19 June 2024
Oh Baby
Friday, 14 June 2024
Calling all with electronic cutters
Friday, 21 June 2019
Wedding Guest Book
Friday, 14 June 2019
Adding Vinyl to Towels
Tuesday, 4 June 2019
Wedding Arrow Sign DIY
Tuesday, 7 May 2019
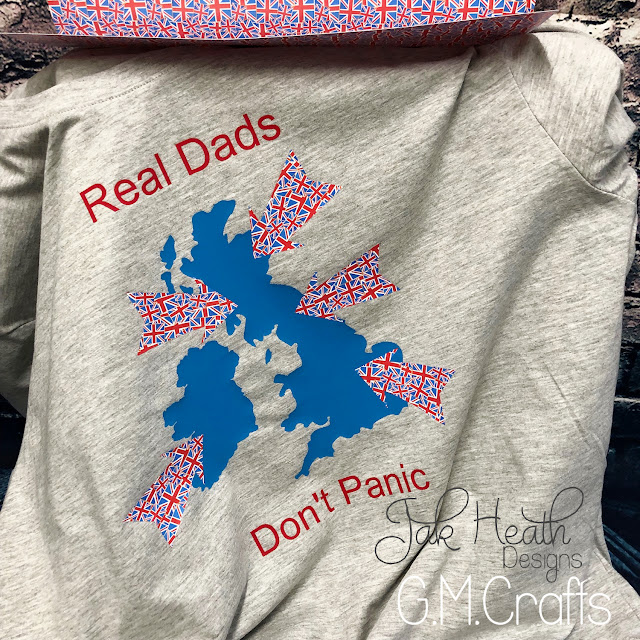
Fathers Day - Don't Panic
Friday, 12 April 2019
3 Seconds Turbo Vinyl
Saturday, 11 April 2015
Ahoy me Matey!
Another one of my Silhouette Templates made up, a Door Hanger.
I intended to tie a knotted rope through the holes to hang it from the door but in hindsight I think a bit of bluetac is a better option and of course that means no unsightly holes in a door.
I think this one is kind of cute don’t you?
Thursday, 9 April 2015
Making Templates
So I started to go stir crazy sitting at home so I decided to start making my own Cutting Templates for the Silhouette, I started with the Hexagon Box shown below and then moved on to some Flowers and Characters.
I have loads stored up, I need to start making them up now.
Loads of fun working them out and getting the measurements correct.
I always think that a hexagon box looks quite vintage.
I think the chrysanthemum finishes it off quite nicely.
Friday, 3 April 2015
Easter Wreath Silhouette Cutter
I never see that many Easter decorations around unless it is an Easter Bonnet or an Easter Tree so I jumped at the chance to make a wreath and a cute one at that.
All cut using my Silhouette Portrait, love this machine. I love the Designer software too, I can play (yes play) for hours with it.
This template is available in the Silhouette store and is another by Jamie Moore Cripps, you really must look up her designs.
Now fill up those little eggs with a little chocolate surprise and it would make a brilliant adult Easter Gift don’t you think?
Thursday, 2 April 2015
3d Strawberry Pot Silhouette Cutter
Another little Potted plant to cheer up a cold day.
I’ll have mine with clotted cream thank you.
These a so fun to make, even the terracotta pot is made from card.
A closer look at the plant.
As you can see I dotted the strawberry’s with a white pen for the little pips.
The template is from Jamie Moore Cripps on the Silhouette store.
Tuesday, 31 March 2015
Happily Ever After Vinyl Word Art
I had some wood left over from another project and thought this would make a beautiful gift.
So lets get Started step by step
- I painted the dark base coat and let it dry
- Next add a generous amount of PVA glue.
- Brush the glue all over the surface of the wood in an even layer
- Wait a couple of minutes so that the glue is just starting to set then paint over the top with the light shade of paint. Make sure you paint in lots of different directions.
- You need to use a heat gun all over the surface before the paint dries. I tend to be painting as I am using the heat gun, roughly 4 inches ahead.
- Direct the heat gun in one place until you see the crackles appear. (this doesn’t take long) Move the heat gun to a new spot to start the crackles.
- As you can see it makes a really vintage look to the wood.
- I used the Silhouette Cutter to cut out some wording from sign vinyl.
Now to finish off the project
Once dried I added the sign vinyl wording and cut out some foliage and a flower using the Silhouette cutter and added them to the top.
I intend added some hooks to the bottom of this project so that it can be used as a key keeper.
A close up of the flower, you can probably see that once the project was put together I sprayed it with Crafter Companion Pearl spray for a touch of luxury.


