Sunday 10 August 2014

Home Made Wall Art - How it was made.

You know how it is.... You search for something to finish the room off but just can't find exactly what you want wrong colour, wrong size, wrong shape etc...

So in my head I knew what I wanted and kept trying to explain it to Chris but couldn't get the vision across to him.


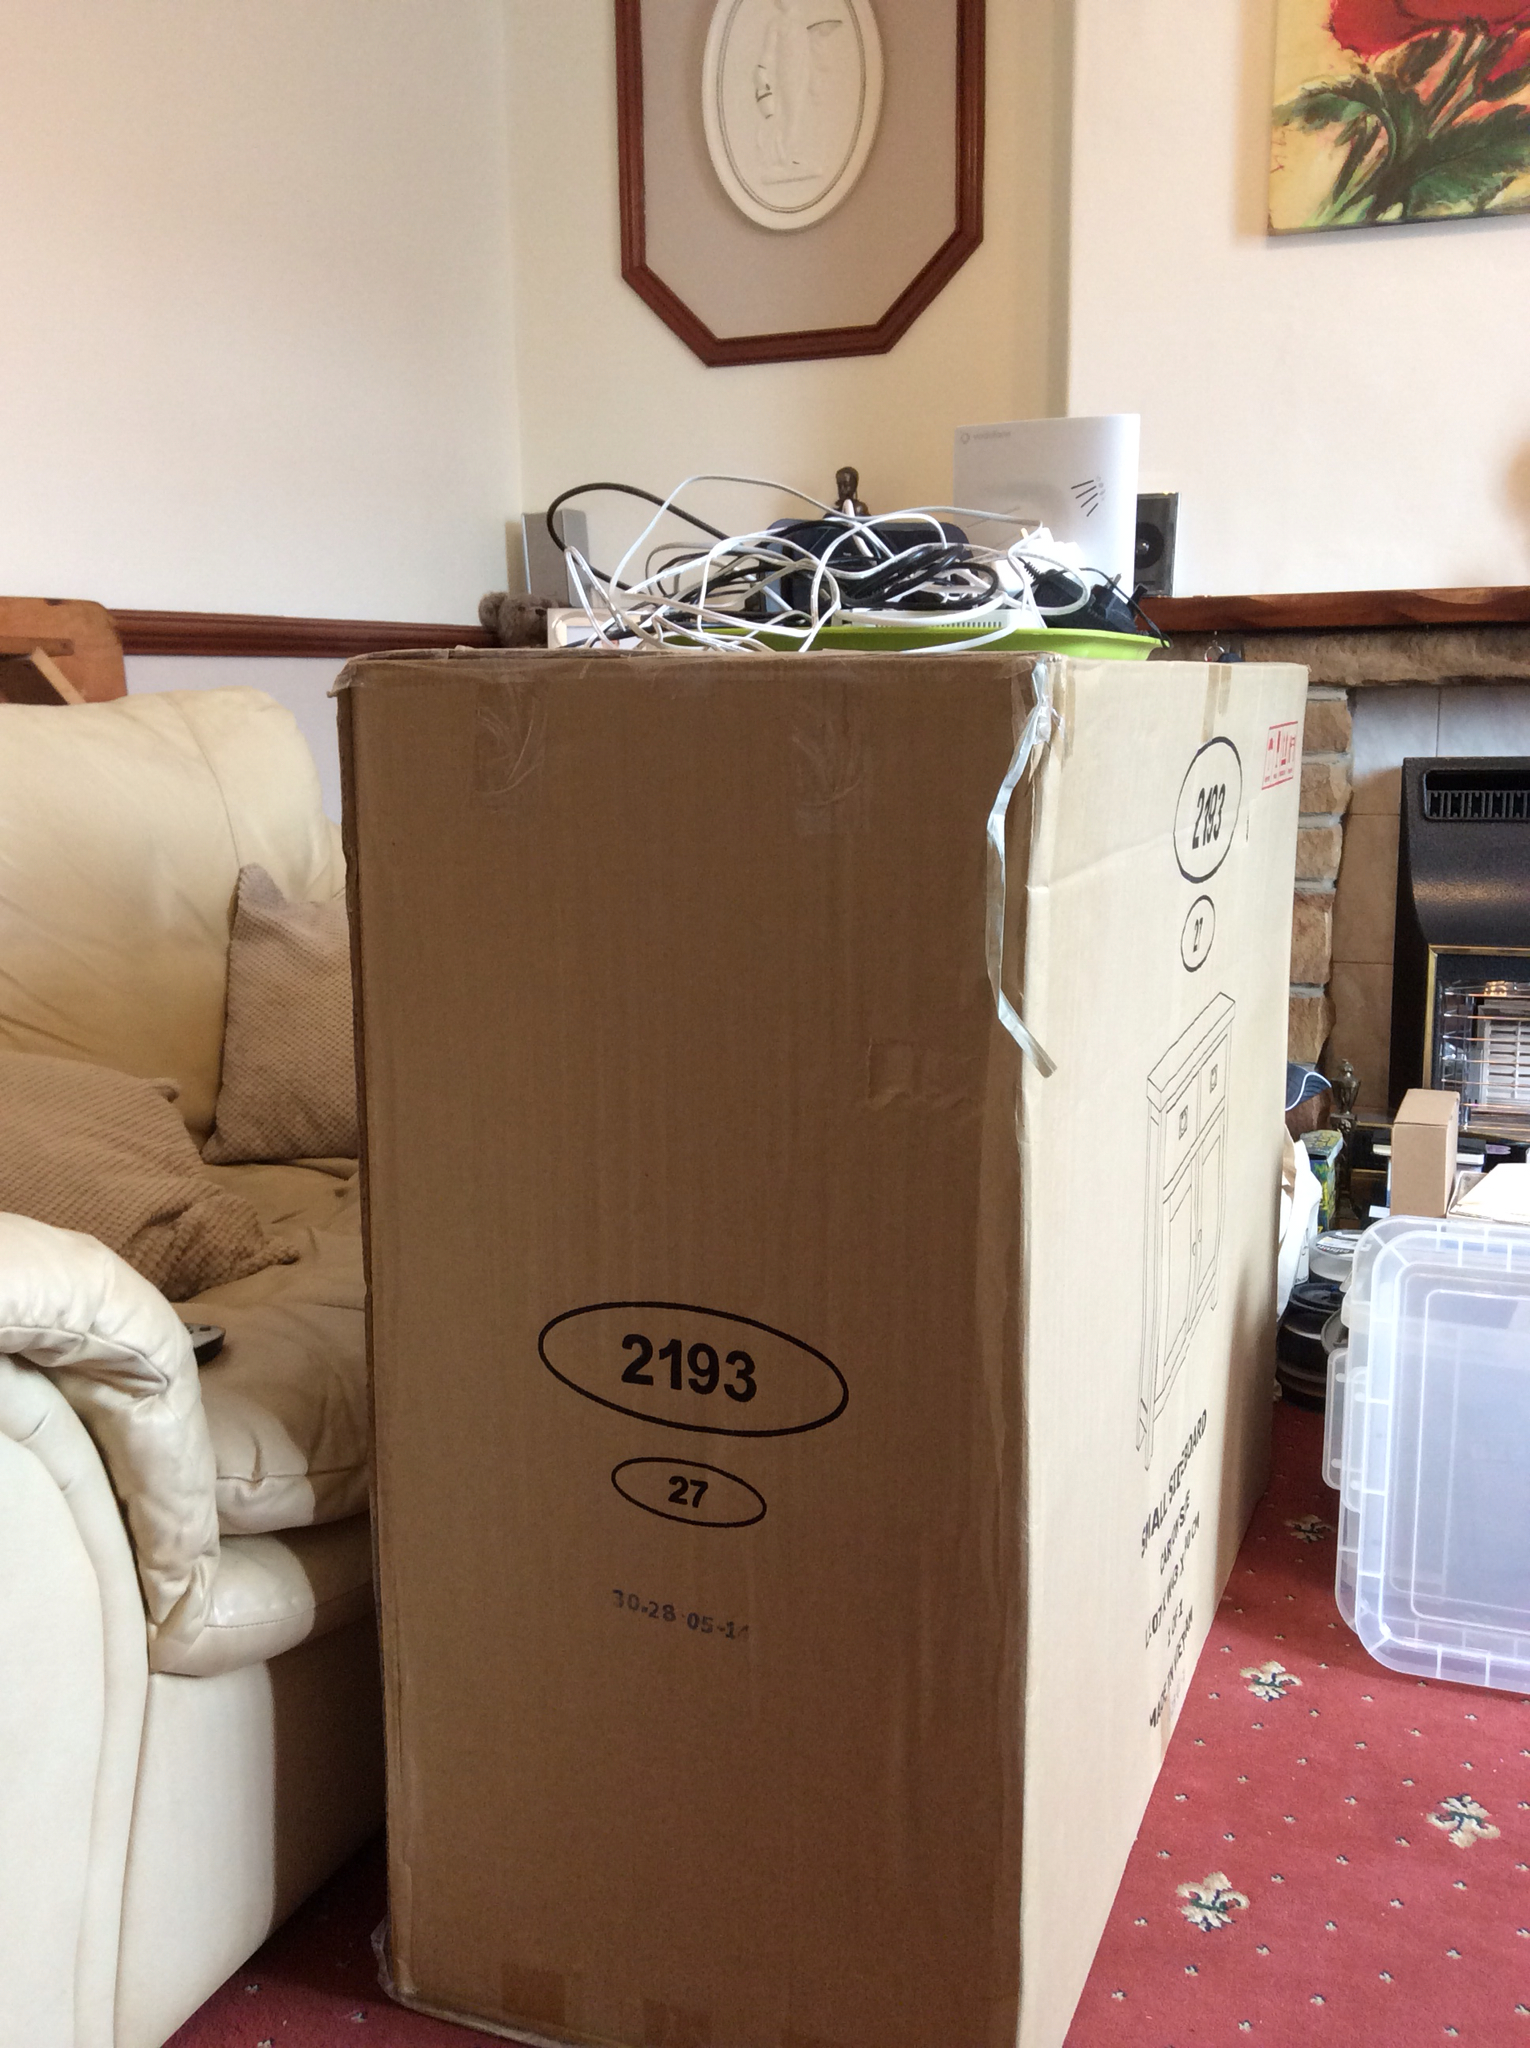
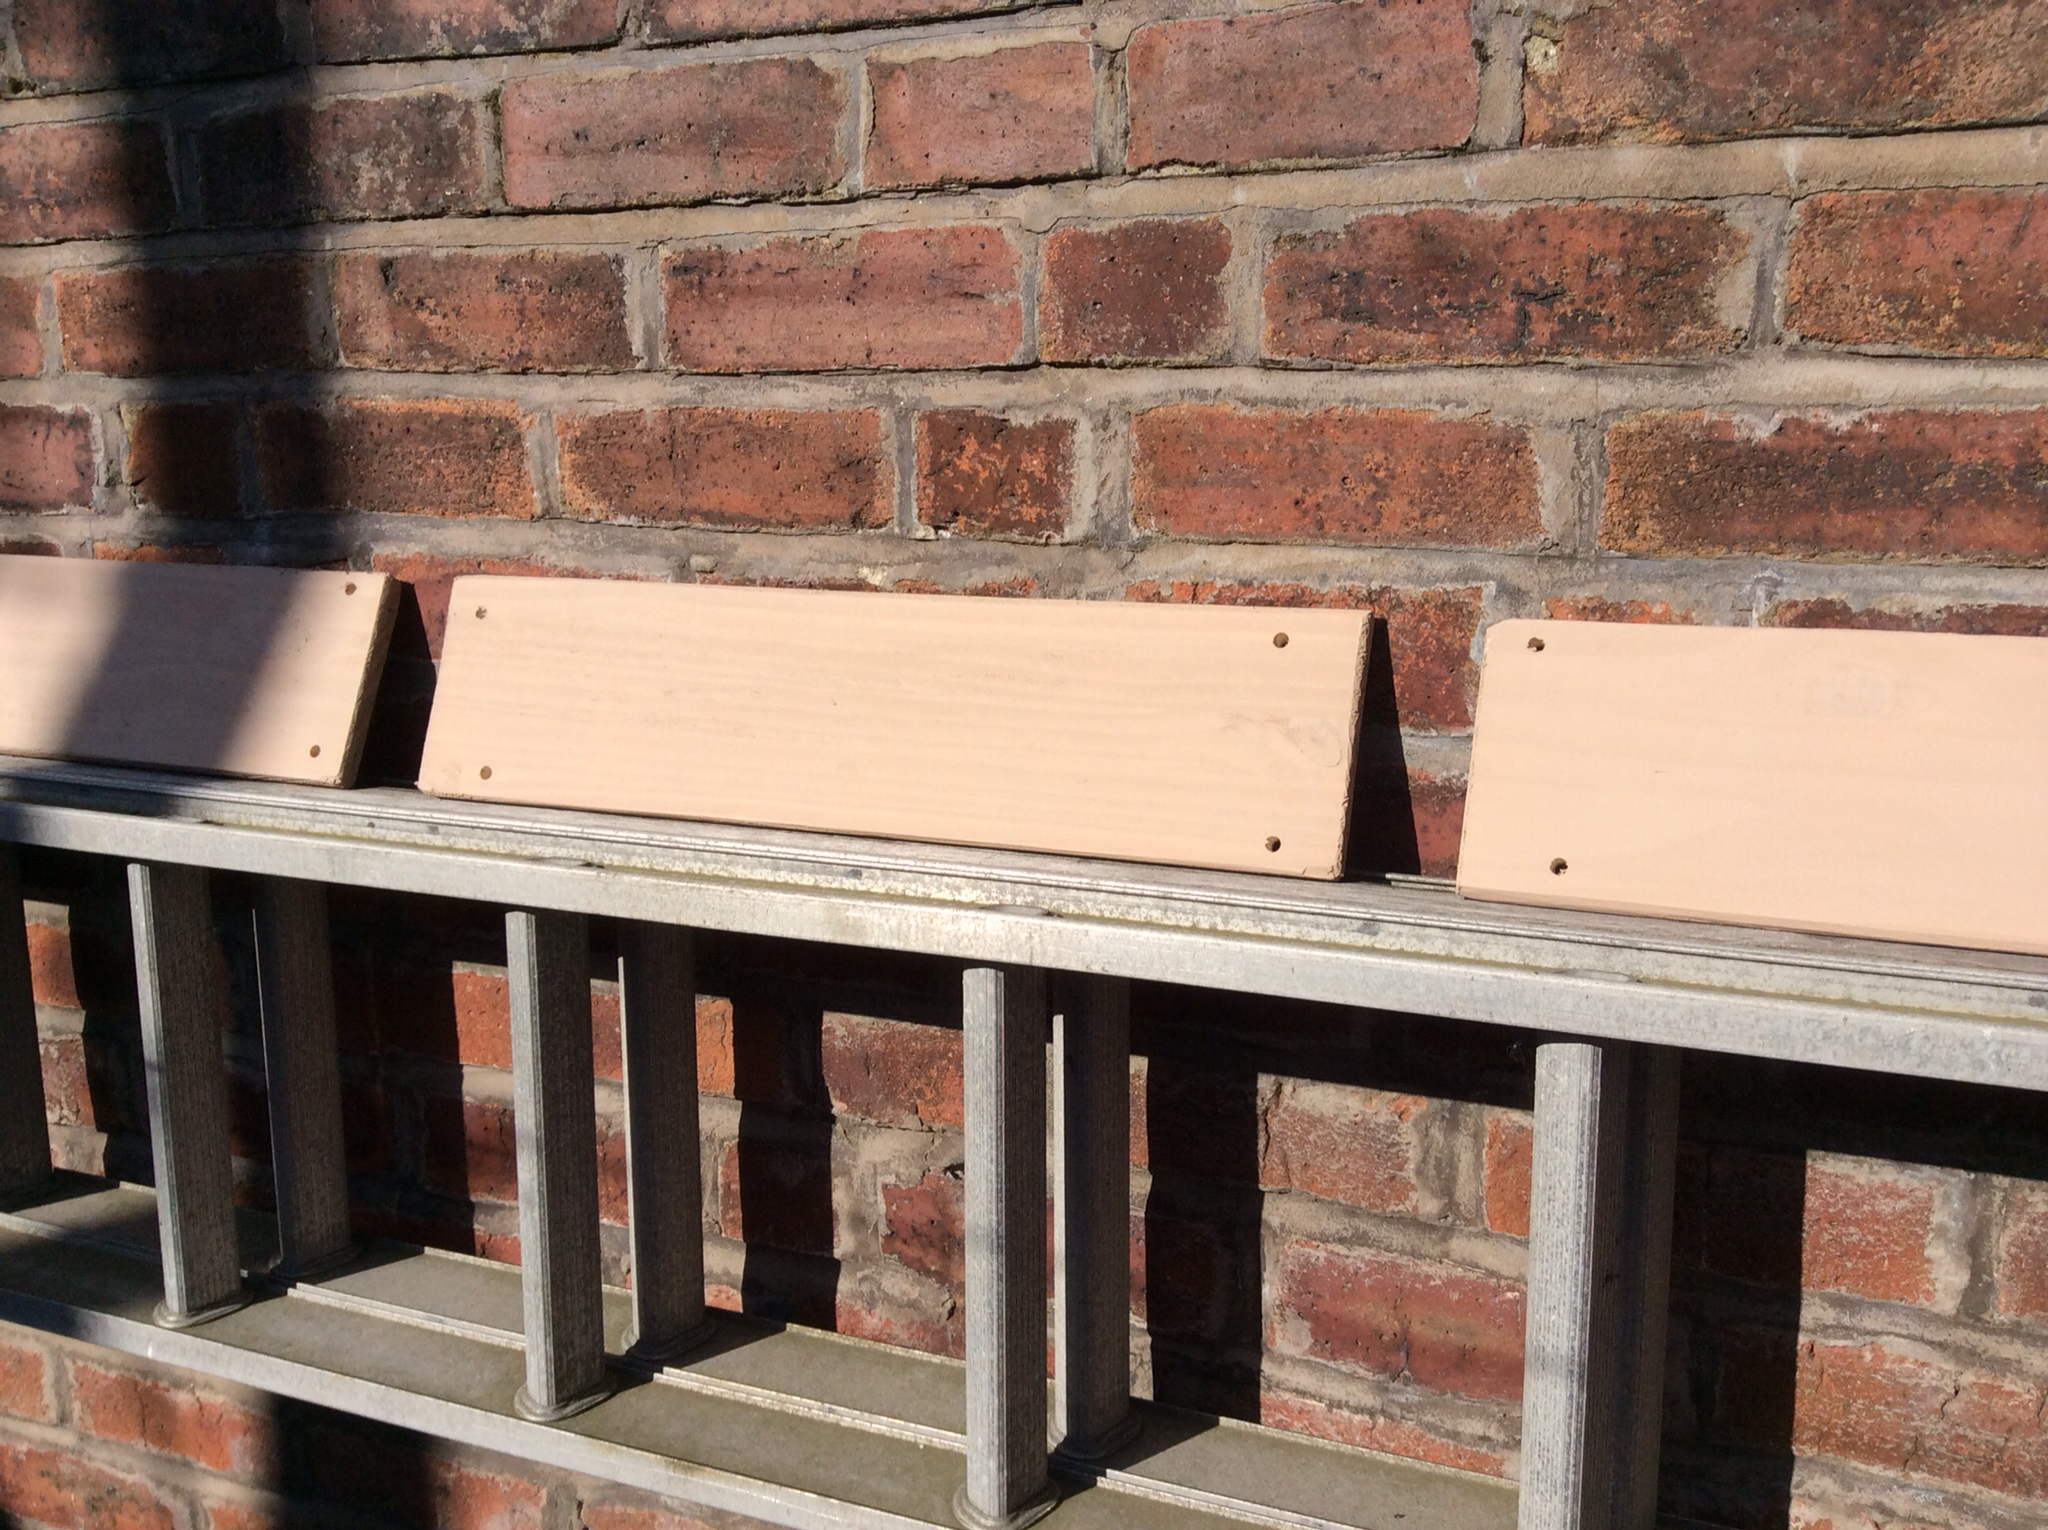
So I started by cutting out some wording in vinyl on my Silhoette Portrait in two colours and then went in search of some planks of wood.

I used a roller to paint on my darkest colour of Matt paint and then left it to dry.

Once dry I retreated to my craft room and started brushing on the PVA Glue

Before it dried I painted over the top with the lighter shade of paint.

The the magic begins, using my heat gun I started to heat over the glue and paint and before your eyes it does this brilliant crackle effect.


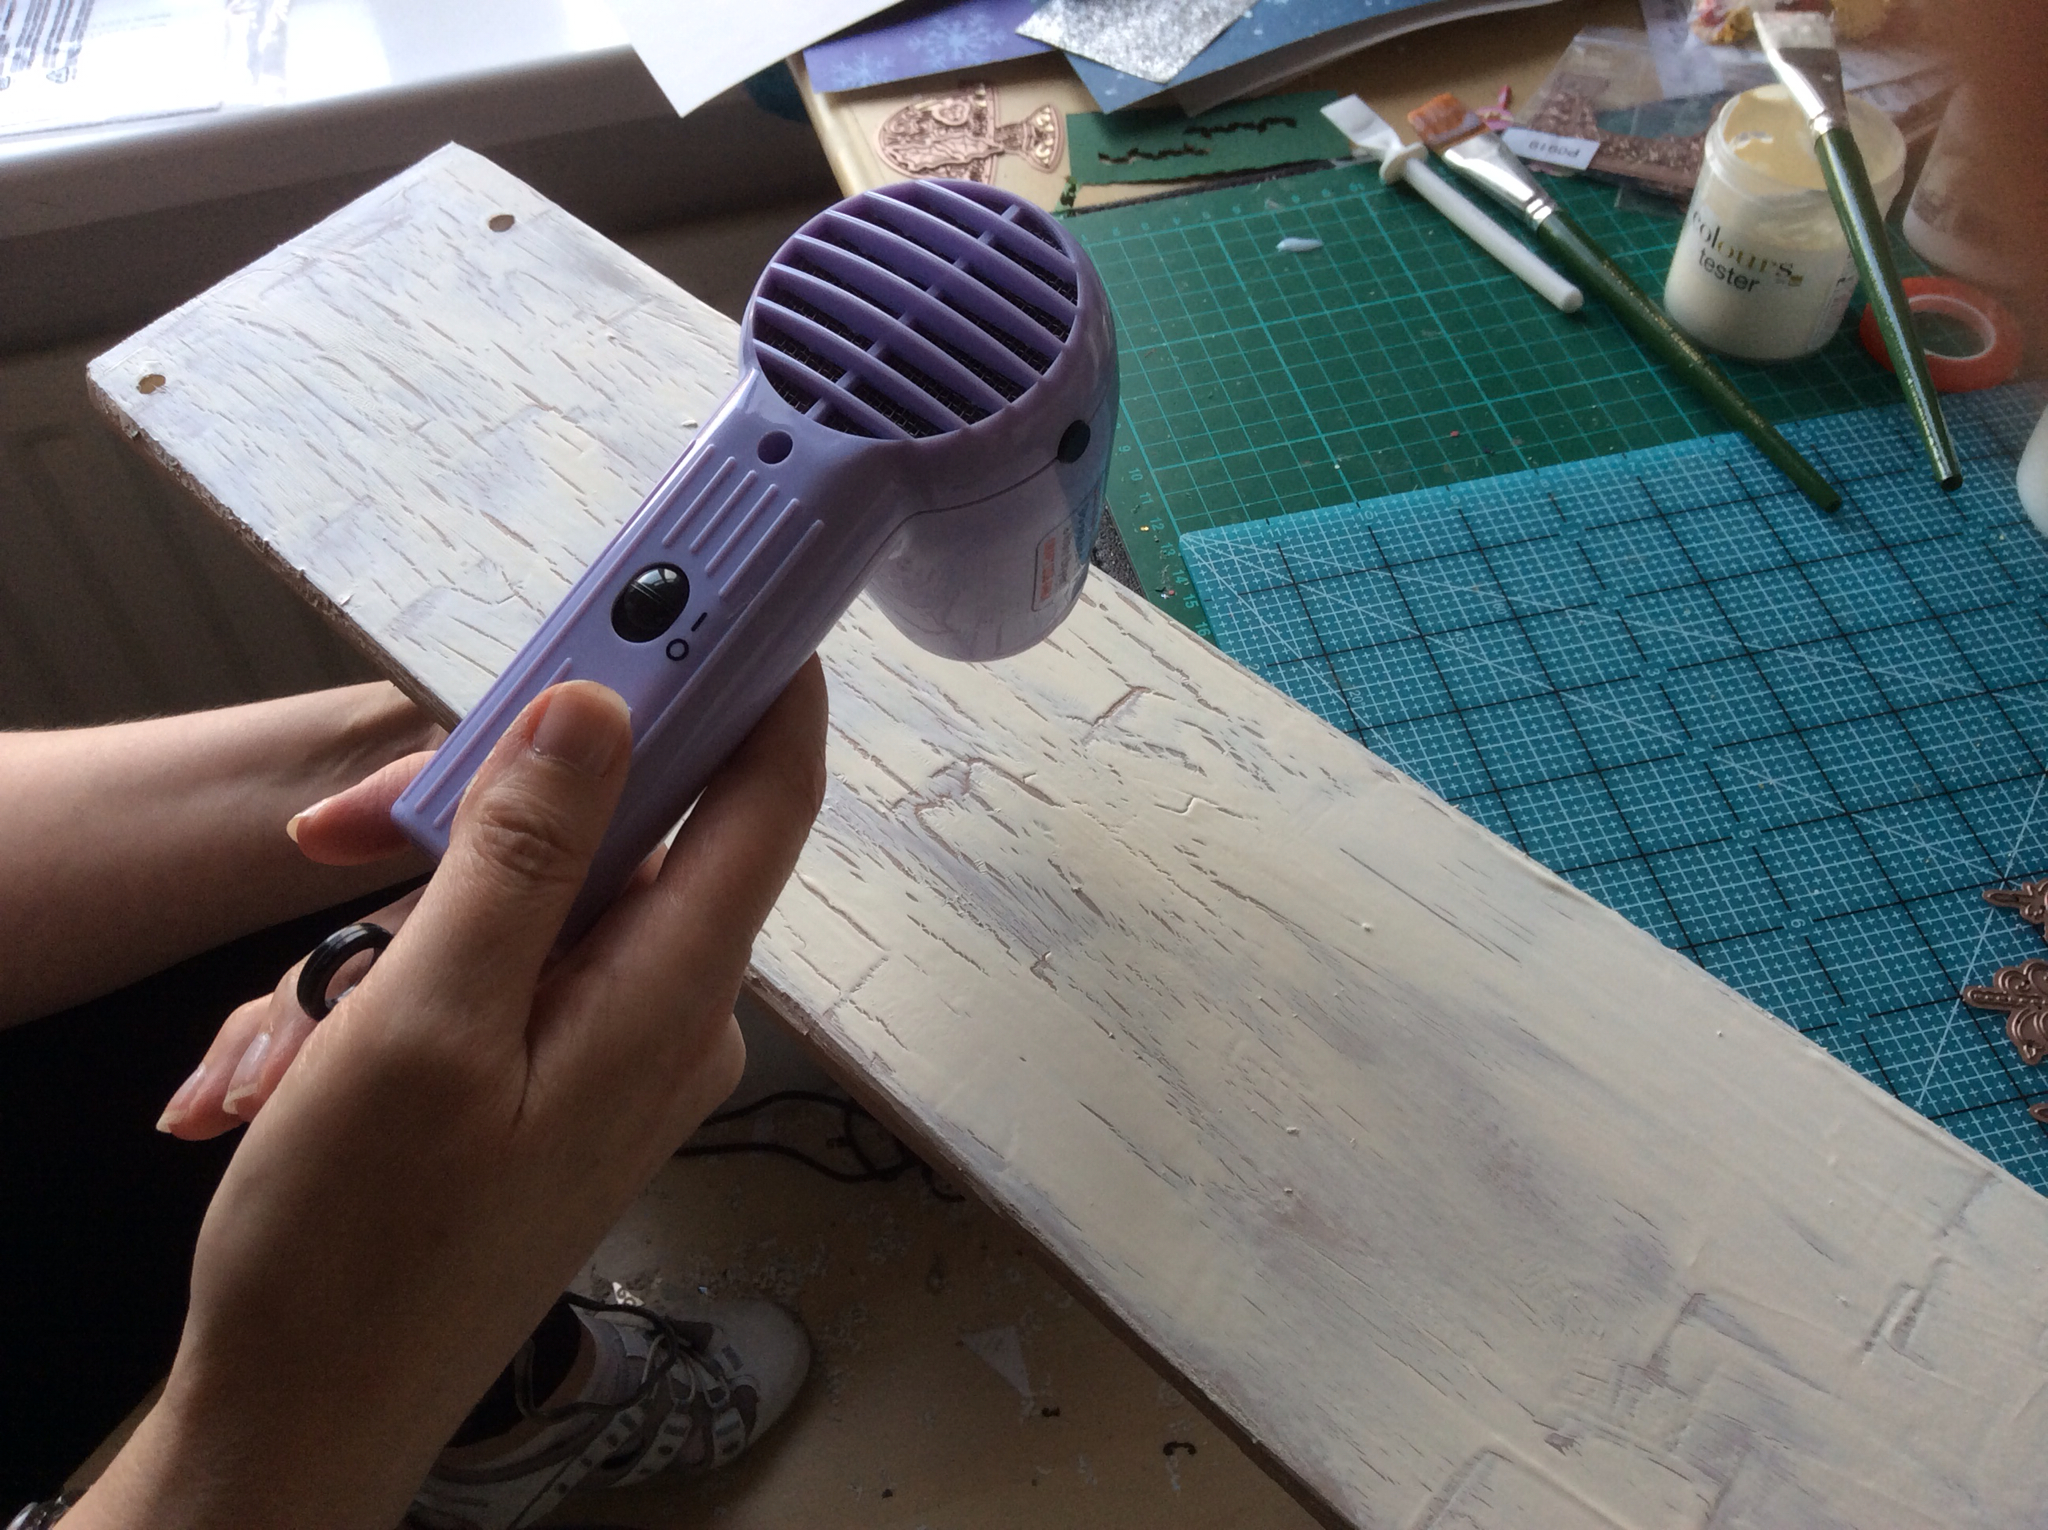
Making the planks of wood look all distressed. Now for adding the wording once the paint is dried, I kept the backing paper on my vinyl until I was happy with how it looked.

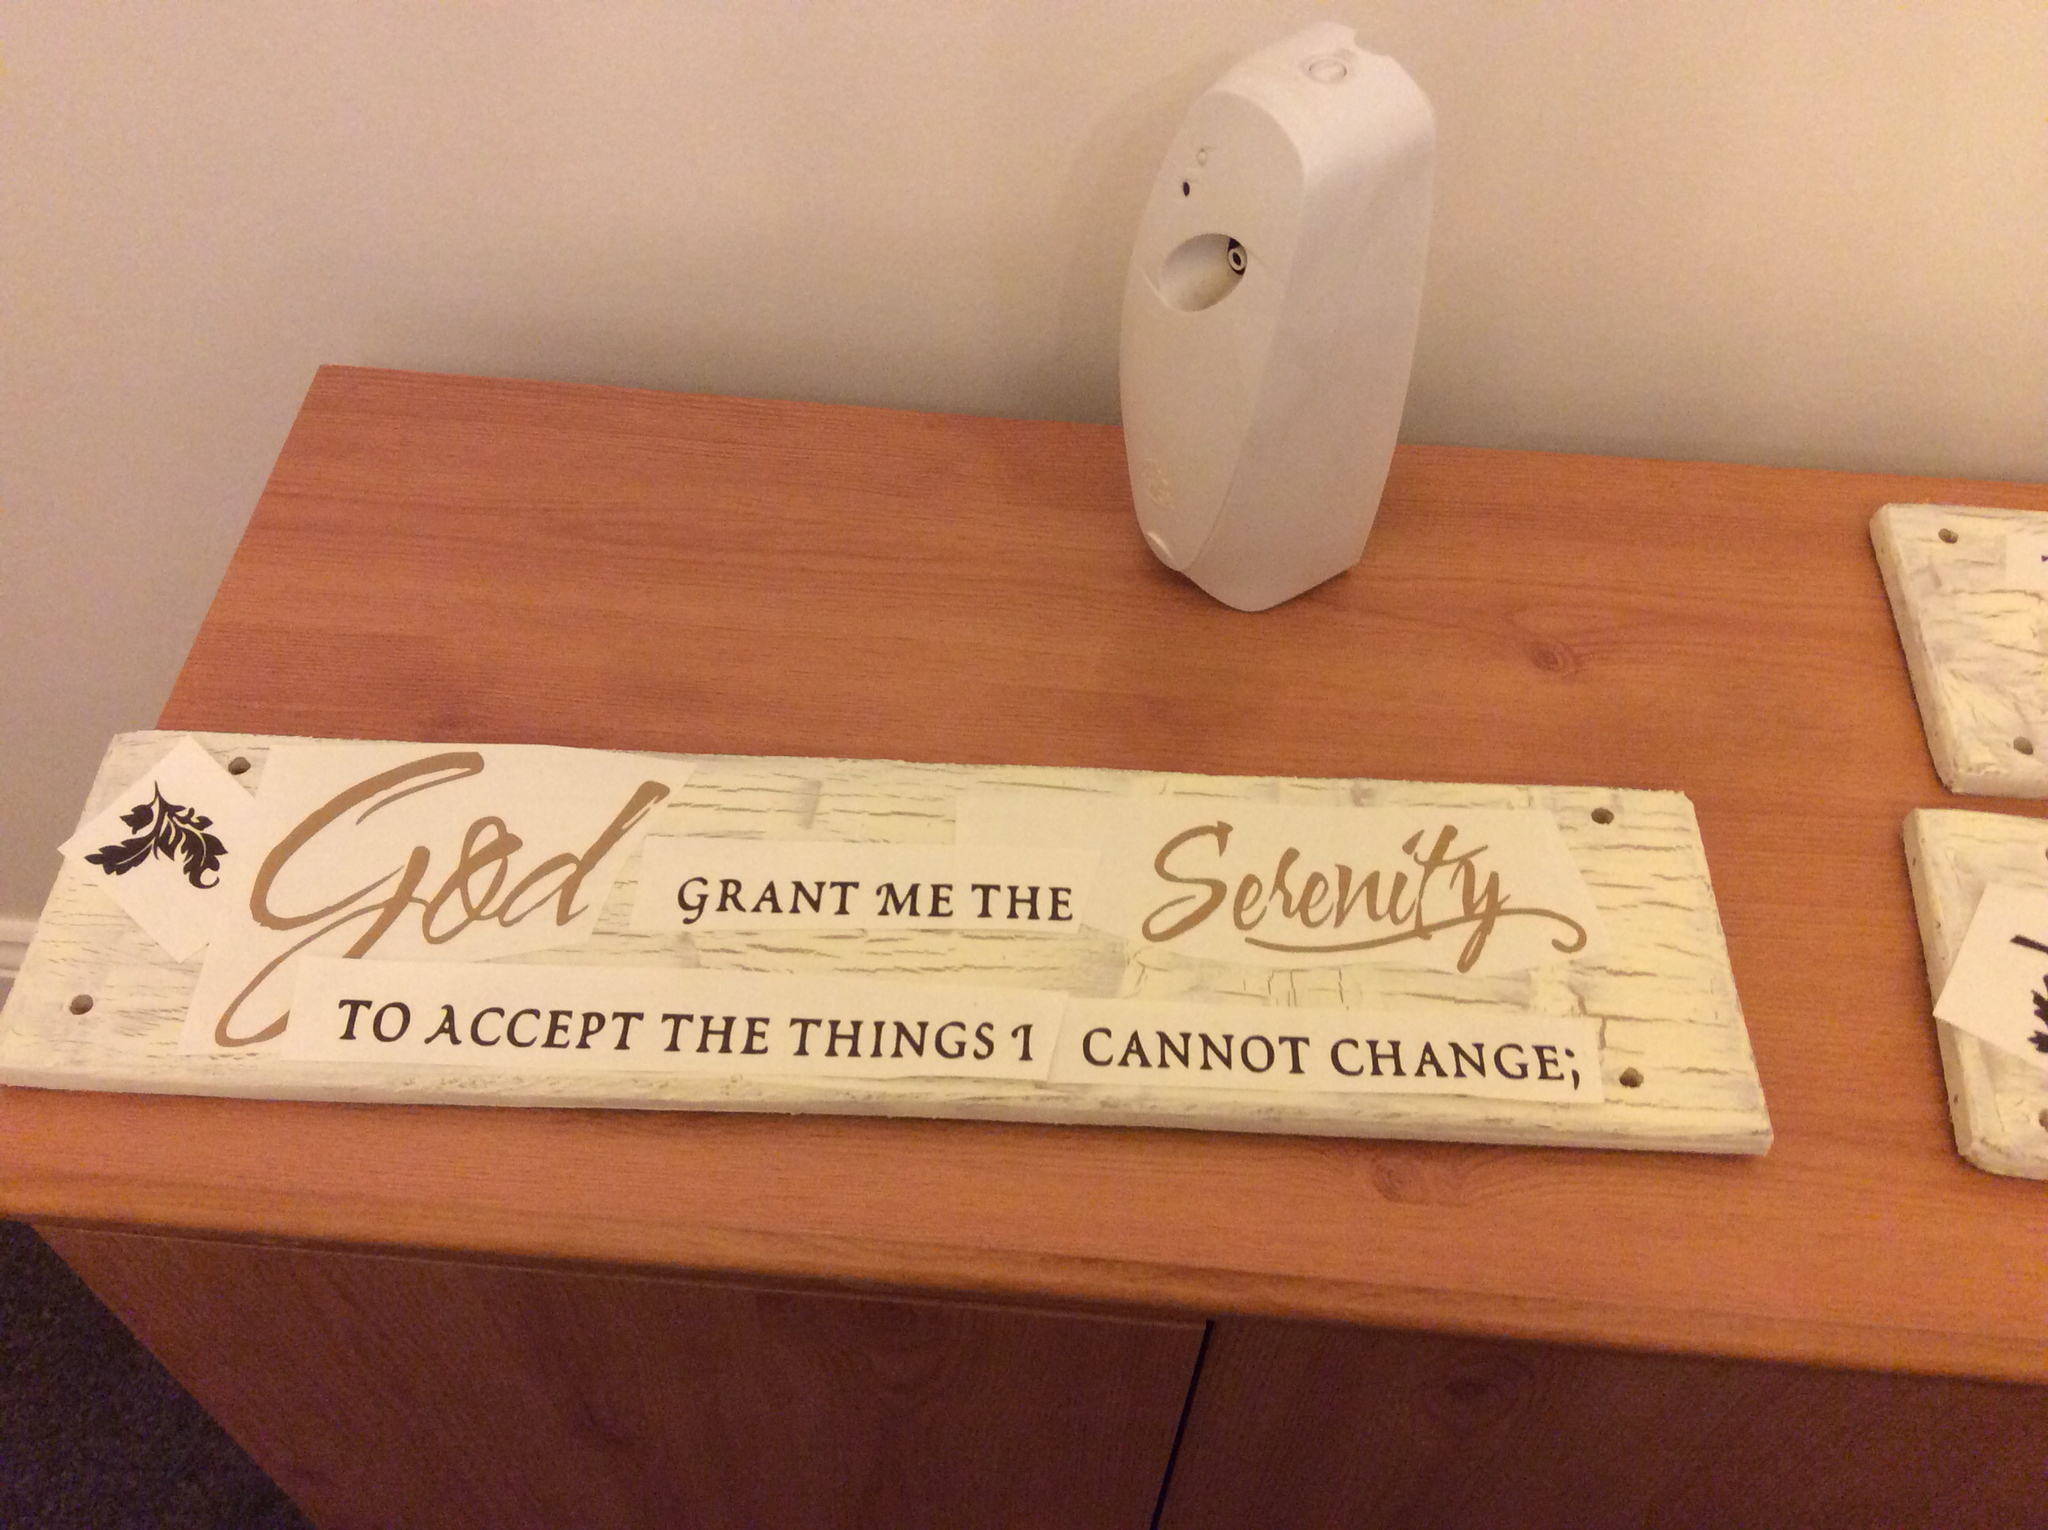
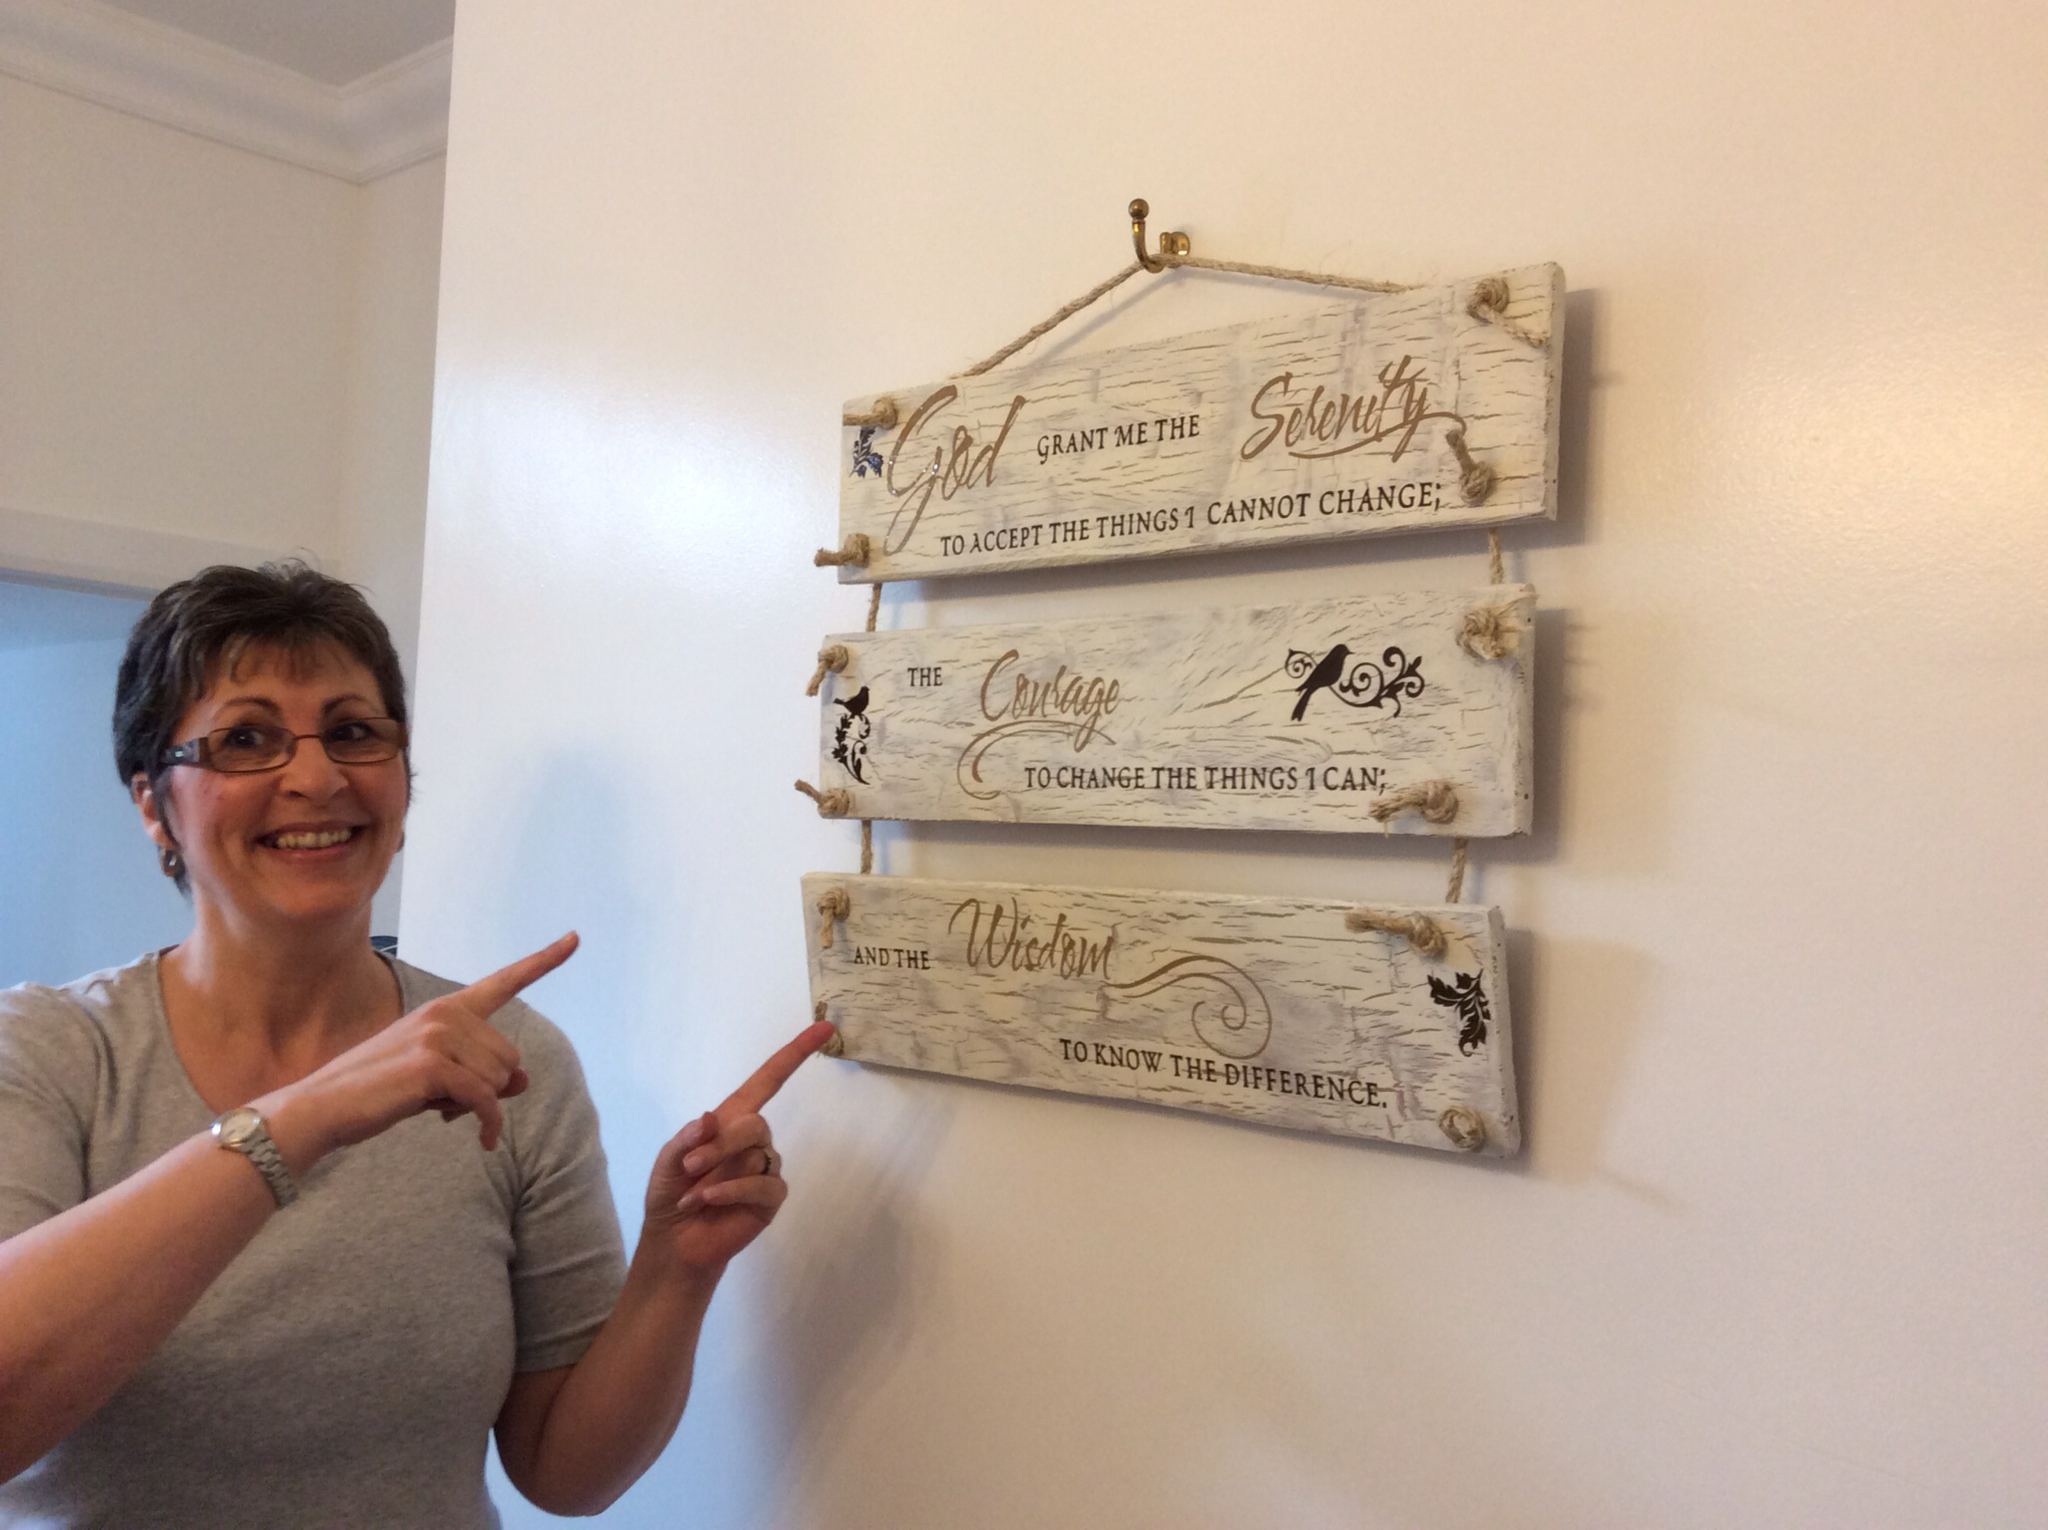
Once I was happy I applied the vinyl then started to rope up my creation.


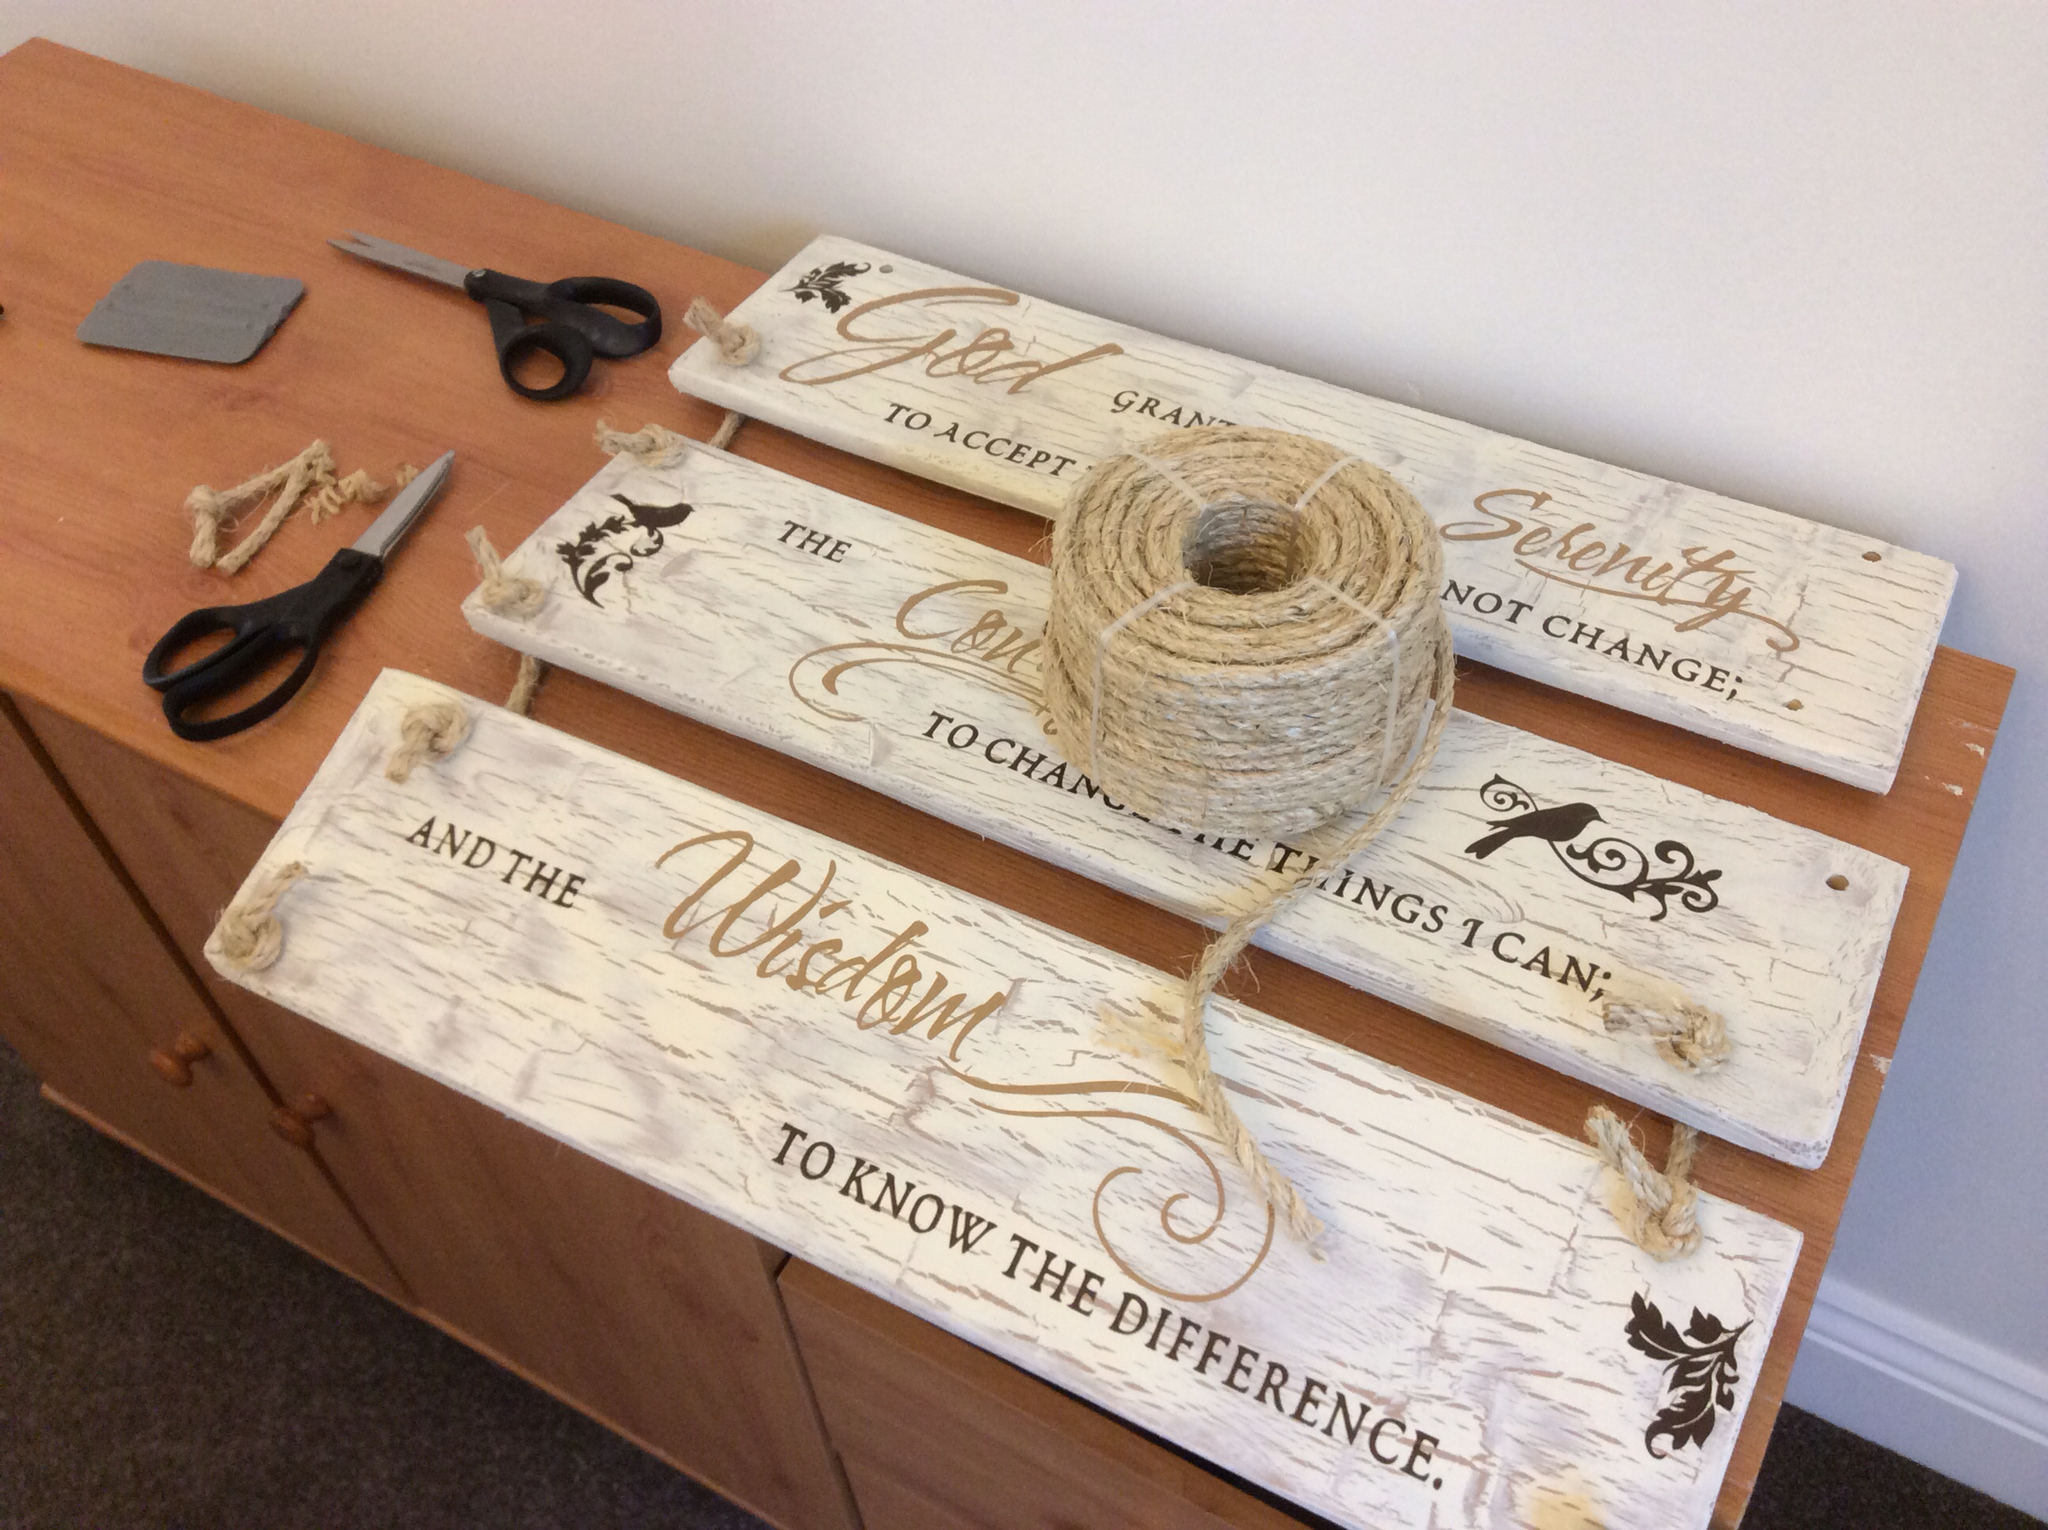
With the finale knot being tied it was ready to hang on the wall.

As you can see, I'm a tad proud on my new wall hanging.


Friday 1 August 2014

Slowly, Slowly, Catchy Monkey

It's been a long long haul getting the back room done and I have to say that I am longing for normality again.

The carpet fitters are here and they are making a splendid job.


I'm not being adventurous as I need a calming room so we are sticking to neutral tones. I have enough stress in my life without trying to match up Psychedelic colours.

It tickled me that they used a spray adhesive around the edges and it took me all of my might not to

interfere with the spraying.

This picture above is in the passage way of the house so I think I managed to match up the carpet quite well.

It will be good to get our sitting room back, poor Chris has to keep sliding this big boy around the room to be able to get a sit down.

Hopefully the next lot of pictures will be a finished room.


Thursday 31 July 2014

I Need a New Pinny

I think I'm in need of a new Pinny (Apron) I know a man who may be able to print one up for me and in fact he may already have some in stock.

I'm after a crafting Pinny, do you have one? Is it something that you have thought about?


Mine is getting old now and I really need one with pockets.

We are on the last leg of the back room, carpets will be here tomorrow and some of the furnature arrived today.

Not long now.


Sunday 27 July 2014

The important things.

I was sitting having a cuppa at my Mams tonight, I always sit on the sofa facing the fire place and realised that I always find myself looking at our family photos, they have pride of place on the wall.

I sat smiling at them noticing how young we were and thinking of us now how we have grown and how proud my Mam and Dad was of us all.

It suddenly dawned on me that I didn't have the photos in my collection so I whipped out my phone and took them off the wall to take a copy.

Now no giggling but this is the group one, me with long hair, Chris looks like he is sporting a toupee my girls so young and my brothers family too.


I will be in big trouble when this posts out to Facebook but I felt you would enjoy seeing it.


Saturday 19 July 2014

28 Years today. Captions please.

It our Anniversary today both Chris and I have been Married for 28 years.

This wedding picture is one of Chris's favourites. I look ever so cross with him don't I?

So just for fun give it a caption.


Friday 18 July 2014

Multi Layers

I had a little time to play, creating multi layers can be so fun, not sticking anything down until you are totally satisfied is the key to this, OK it takes a little longer to create your masterpiece but what is the rush? it is all about enjoying what you are doing so why rush it?

multi layers1

So this is one I built in 2 days, obviously not solid days but  wanted the papers to be right and I kept walking away from it, I had the idea in my head what I wanted and kept adding to the idea. Sticking nothing down until I was happy.

multi layers2

You will probably notice that I rarely add wording to my cards, actually I do it once I know who it is going to or even leave it as it is depending on my mood.

multi layers3

Making a statement with a poinsettia.

Jak Signature

Saturday 12 July 2014

This and That and a Crafty Stash

For those that know me well they will know that I hide my fear for going out on my own very well, many think that my humour portrays an outgoing nature that is fearless when in fact it is a mask that hides the real scaredy cat that I really am.

I wasn't always like that, I used to be totally fearless and ready to conquer the world, however I do like my own company and I have to force myself to venture out, Chris often says that if not for him I would become a recluse and in honesty I have to agree.

So this weekend I took a massive step into the unknown and went into a public house on my own for dinner. The Crown at Elton, I did go with Chris last month so I knew where it was, I had the Fish and Chips again and it was delishious.

So on to today, I have a lot of time to fill as I don't need to be at Create and Craft until 5pm ready for the 7pm show so what to do???

It came to me in a lightbulb flash.......go craft shopping.

So I did just that and headed over to Sir Stampalot. If you have never been you are missing out, it is full of crafty goodness and they are ever so welcoming.

So what did I buy?

This little lot, a cordless glue gun, new cutting blades for my paper trimmer, 2 packets of buttons, some pearly ribbon and a new Memory Box die set.


Friday 11 July 2014

Gift Box from One Day Wonder

It was 6 years ago that I first used this origami folder flower and yet it is still one that gives the wow factor today.

I used the Topsi Turvy card stock from Create and Craft and also the Rainbow Cardstock for the flowers.


Isn't it pretty? I used a snowflake die by Memory Box and a sheet of the mirror card in gold to further embellish the box.


And I even found the original link that I used to make the flowers.

http://foldingtrees.com/2008/11/kusudama-tutorial-part-1/