Tuesday 25 December 2012

Christmas with the Heaths

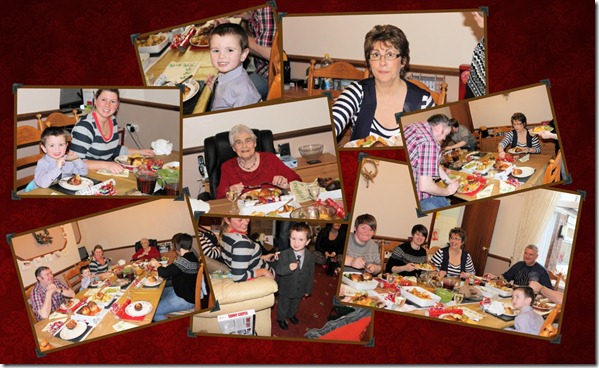
Well we had a wonderful day, present galore. The master of the house Chris (don’t tell him I said that) made dinner and it was gorgeous, dinner was a typical bun fight where everyone tucked in.

My Mam enjoyed herself and we had the typical naff Christmas crackers with naff jokes and naff hats.

Everyone loved their place settings (Santa’s Chocolate Sleighs)

You can click on the picture for a larger view.

Christmas2012

Jak Signature

Monday 24 December 2012

All Done for Jolly Saint Nick

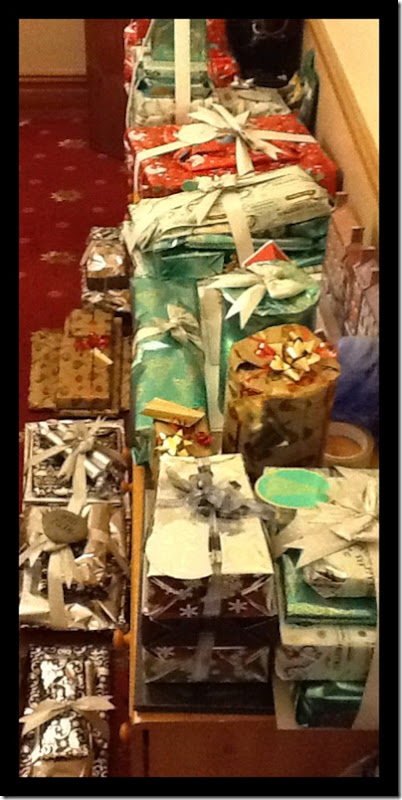
Thank heavens that all of the wrapping is finally done. It was a bit of a marathon to say the least.

I think I make things worse for myself as I like 2 coordinating wrappers for each persons gifts as I think part of the joy is the beautiful wrapping.

Photo 24-12-2012 02 46 53

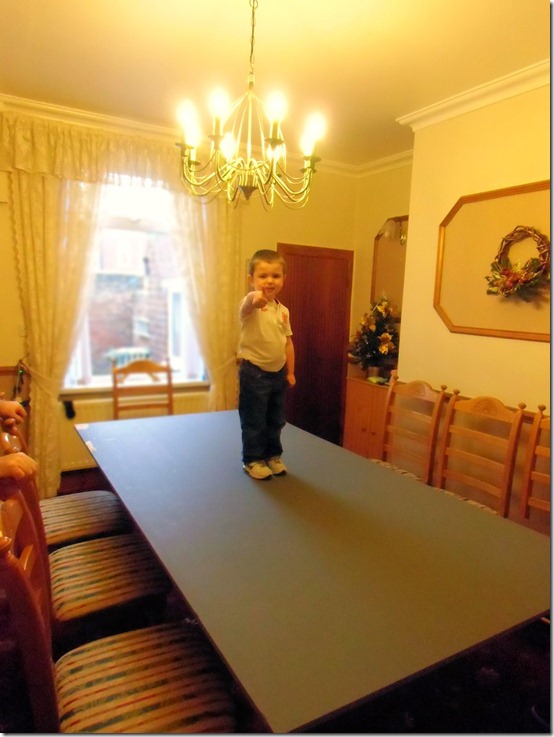
As everyone is coming to mine for Christmas Dinner I realised that we needed an extended table, Chris went and got a piece of 4x 8 thick plywood and we have laid it over the top of our 6 x 3” table and Jack was first to try it for size.

table_Jack

So now it is all laid and ready for Old Saint Nick arriving, poor soul is going to get wet too as it has started raining.

All that is left for me to do is wish you all Seasons Greetings and hope you all have a wonderful Christmas Day.

Love at Christmas

Jak Signature

Sunday 23 December 2012

The Countdown Has Begun.

We had a major disaster, Chris came in from work during the week with engine grease on his shoes, so it was trailed all of the way through the hall carpet and into the living room carpet too. I was very reserved, I didn’t tear my hair out or his, I didn’t scream or shout, it wouldn’t of helped the situation if I did.

So poor guy had the carpets to deep clean Saturday, I must say he made a very good job of them too, even though the cleaner decided to act up and he had the whole thing to strip down them build back up before he could get going, thank heavens I have a handy man.

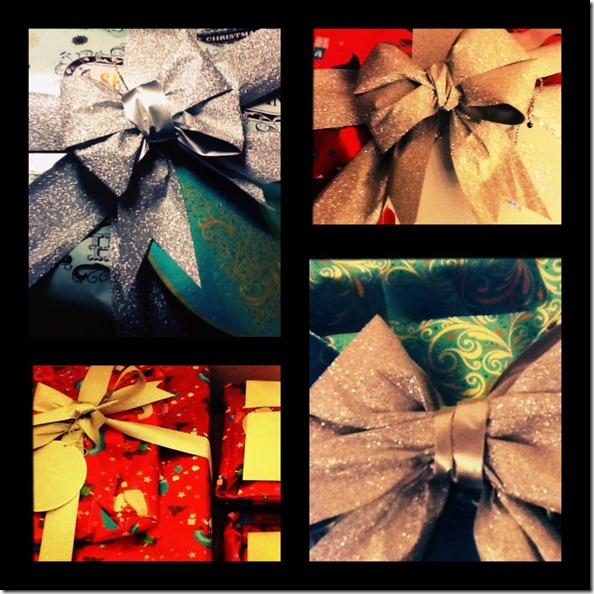
So onto the gift wrapping, I’ve made a start, you forget how long it takes until you start gathering all the bits and pieces together, I have to say though that it is all starting to look quite pretty.
2012-12-22 22.37.37

All of the children's gifts are now wrapped and I’ve made a start on the adults gifts. The good thing is I’ve had Katie Renz helping me, remember the beach stone she had engraved for me? well I have been using this as a paperweight and sitting it on top of the bows until they are set.

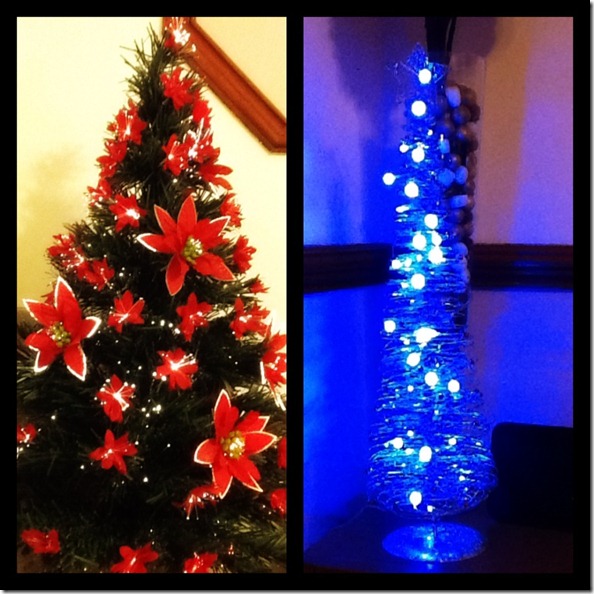
My trees, I only have small trees, I have 3 that i love as you take them out of the box, give them a shake, plug them in and hey presto I’m done. here is two of them.
2012-12-16 19.28.50Food shopping today, I will probable get the veggies in ready for Tuesday and I am picking up the meat early Monday morning from our local butchers, last year i made the conscious decision to buy all of my meat from him, I think it is important that we support our local shops and our butcher is second to none.

Jak Signature

Saturday 22 December 2012

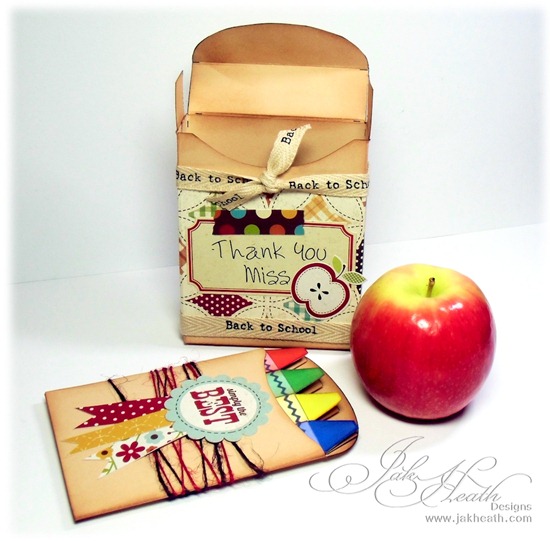
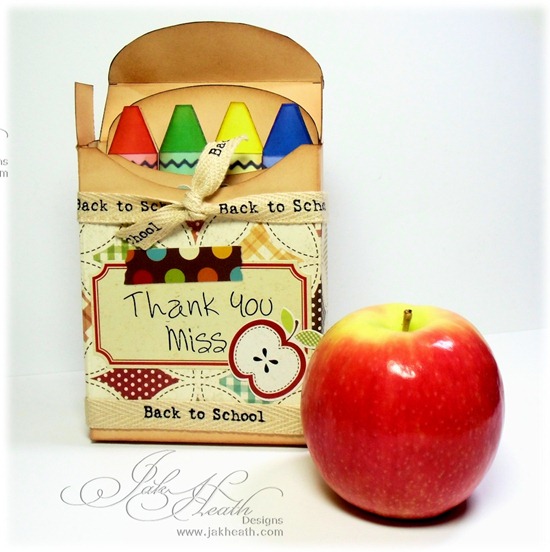
Crayon Box Card–Teacher Gift

I’m thrilled with how this turned out. The beauty of it is it was so easy to make.

Crayon Box1

The template came from Creations by AR 

DTMem-Sep11-150x150-120

The template you get cutting files for machines and also PDF files for hand cutters like me, you also get step by step instructions and a sample of the finished template.

Crayon Box2

I used back to school ribbon and red and brown twine form Ribbon Carousel and I used Letraset transfer letters to add the Thank You Miss on the front of the box.

Crayon Box3 

Isn't it perfect for a teacher gift?

I had the perfect afternoon making this, home alone with Les Miserables playing on my iPad while I sang along and crafted.

Don’t forget, all those using Feedblitze to subscribe to me I will be changing to feedburner if you havn't already subscribed to my email feed do it in the link below.

Enter your email address:

Delivered by FeedBurner

Jak Signature

Friday 21 December 2012

Adding an Image to a T-shirt Using FlexMarkers

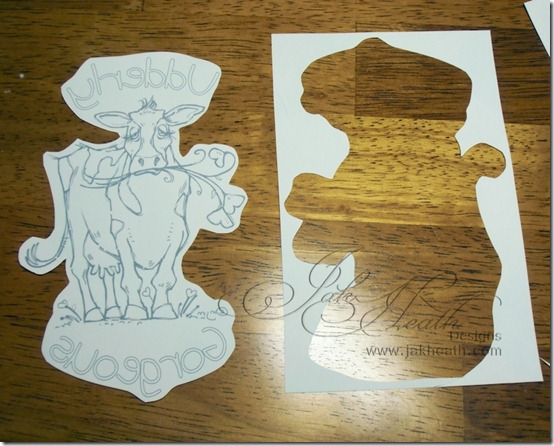
I thought I would try adding my own image to a T-Shirt using a heat transfer paper a Digital Image (this one is by Mo’s Digital Pencil) and Flexmarkers to colour.
I started by printing out the image I wanted to add to my shirt onto a transfer sheet remembering to mirror the image in my print settings to ensure wording would be correct once ironed on the shirt. I then cut around the image.
 
udderly gorgeous1
 
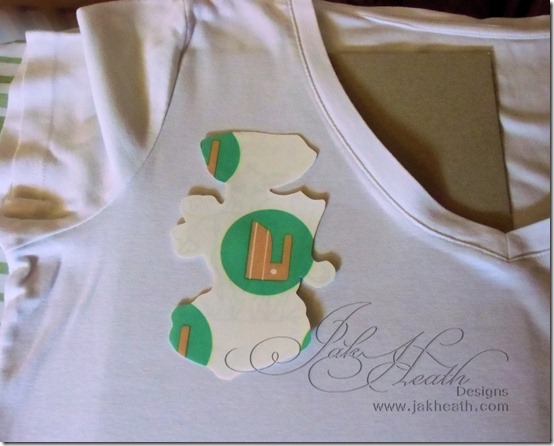
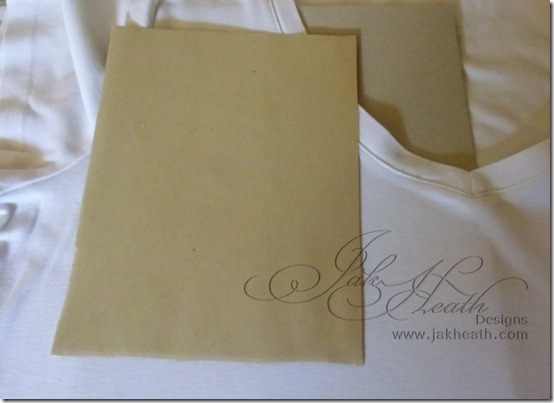
I placed a thick piece of card under the shirt then added the transfer paper image face down onto the shirt.
udderly gorgeous2
 
My transfer paper has an iron in a green circle printed on the reverse, I placed a sheet of brown paper onto of this and ironed it until the green on the transfer paper had turned brown.
 
udderly gorgeous3
 
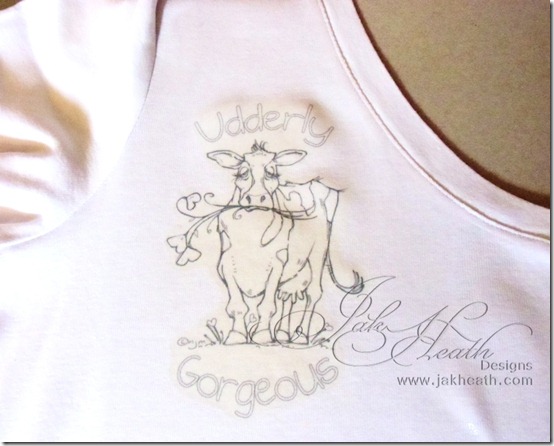
I then carefully peeled off the backing paper and the image was left on my shirt.
 
udderly gorgeous4
 
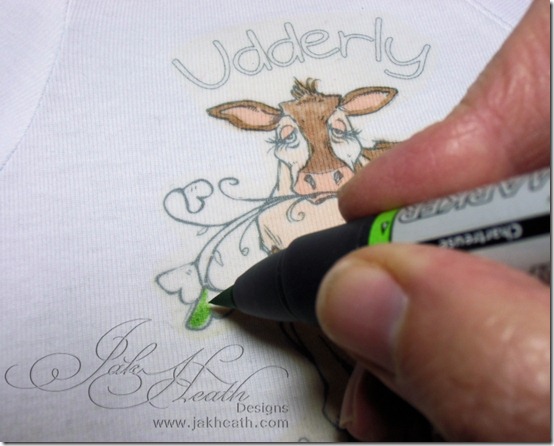
So Flexmarkers to the ready i began to colour the image that was fused to the shirt.
 
udderly gorgeous5
 
Gradually laying colours and going back over when needed to deepen the shades, I didn’t want to over saturate the cloth I was wary of the marker bleeding, this way it didn’t bleed past the lines at all.
 
udderly gorgeous6
 
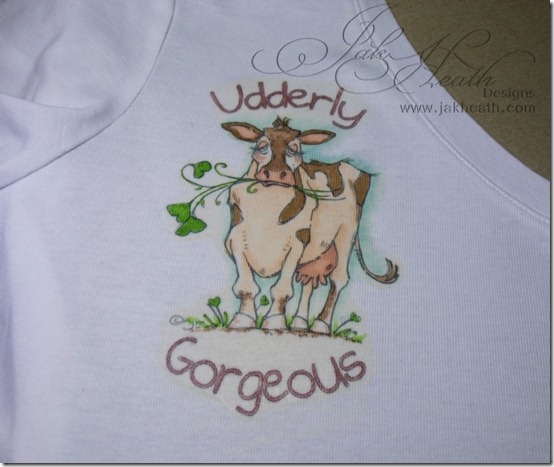
Once I'd finished colouring I covered the image again with brown paper and again ironed the image to heat set the colour.
All that is left to do is wear it. Poor lighting on my next picture because it is very difficult holding a camera whilst trying to take your own picture.
 
udderly gorgeous7
 
All those using Feedblitze to subscribe to me I will be changing to feedburner if you havn't already subscribed to my email feed do it in the link below.
Enter your email address:


Delivered by FeedBurner

 
Jak Signature

Thursday 20 December 2012

Blog Hop of the Month–Clean and Simple

 
Its that time of the month when the Mo’s Dream Team come together and do a special project to give you a little inspiration and hopefully some Oooo’s and Awes along the way.
DT DEC blog hop
This Months theme for the Blog Hop is CAS (Clean and Simple)and Jane is our host and that is where the blog hop begins.
You should have landed here from Pops blog.
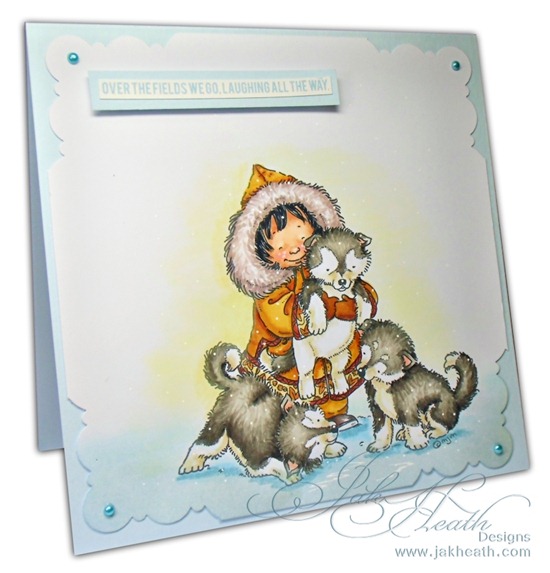
I used Miki’s Puppies digi image from Mo’s Digital Pencil for my project.
The Corners of the image were punched with a EK Success corner punch.
Miki's puppies1
It is always a challenge not to keep adding bits to your card minimalistic is the key to CAS cards.
The snow was made with a sharpie paint pen from Ribbon Carousel 
Miki's puppies2
Next up is Gretha and I know she’ll have something amazing to show you.
Don't forget to leave comments along the way as there is a couple of spot prizes on comments left
The blog hop order if you get lost is Jane, Julie, Debby.Y, Heidy, Alice, Debbie, Mina, Pops, Jak, Gretha, Kerttu
Jak Signature


Wednesday 19 December 2012

Newsletter and Email Subscribers

Hi everyone, I’m just popping by to let you know that I am changing the way you subscribe to my email newsletters. Its been a long time coming and I truely hope that all 920 of you continue to follow me using the new method.

The subscriber link will be added to my sidebar but for those of you reading this I have added it below for you, I will be deleting the old method shortly.

Enter your email address:

Delivered by FeedBurner

Jak Signature

Time for Tea–Die-Namics

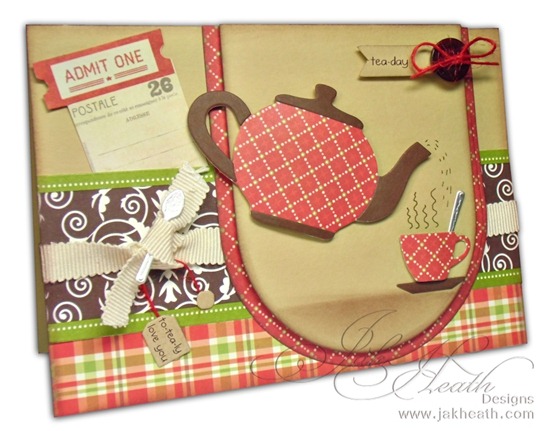
I can think of so very many people who I could give this card to, perfect for the Tea lover, me included. Strong with a threat of milk please.

I used a die from Die-Namics called Time for Tea. It was a bit like playing Mother when you are little, loads of little play things like a spoon (I love the spoon), teapot, cup and saucer, tea-bag, just love it.

Time for Tea1

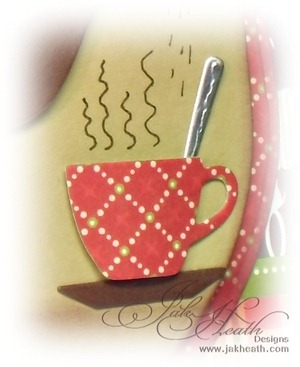
I added the steam lines to the cup to make that it had been freshly poured.

Time for Tea3

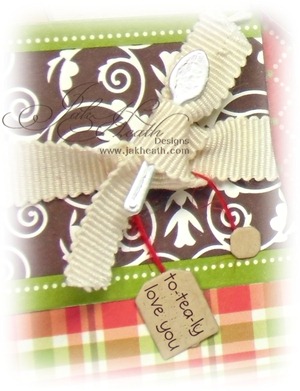
Oh yes and the spoon (love that spoon), I popped one inside the teacup and this one I tied the ribbon around it and the teabag, ribbon and twine from Ribbon Carousel.

Time for Tea2

Do you want to come and play tea parties with me?

Jak Signature