Tuesday, 1 July 2008

Cuttlebug Card - Lace Tree

Faster than the speed of light, I blinked and it was finished.
I used the Christmas Cuttlebug A2 folder, Lace Tree embossed onto white card then added stickles Diamond to the tree. matted on red card stock then added to an A5 white card I ties a red ribbon around the card by making a slit cut in the crease and threading the ribbon though.
Finished by stamping A Merry Christmas underneath the ribbon in a dew drop Brilliance Rocket Red ink pad .
click on the image below to enlarge it


Monday, 30 June 2008

Stampbord

I love playing with Stampbord, I blended fluid chalk inks over the Stampbord then stamped the largest of the Spiral bouquet stamps over the top in black ink, once this had dried I added Opalite Ink (this ink adds a pearlescent finish) by patting the stampbord untill it was fully covered I stamped the rest directly onto the card and added stickles, and a few pearls to the Stampbord to finish.

Sunday, 29 June 2008

New Home Card

This has to be one of the fiddliest cards I have made in a long time, The house was stamped twice and cut both out and I decoupage the bottom half so that it had a 3D effect I coloured them both using Tombo brush pens then added Glossy Accents to the beams.
I then stamped the fence onto a seperate piece of card stock and coloured between the fence in green for the grass, I then cut this out and added a couple of folds at the sides so it would wrap around the house.
On a seperate piece of card stock I coloured the bottom quarter green for the grass and added blue to the top of the card for the sky.
I made a gate fold card in a light green then stamped the wording around this I attached a ribbon to the back of the house long enough to wrap around the card and tie in a bow and only stuck one half of the house to the card.
All supplies are from Papertrey ink

Saturday, 28 June 2008

Continuous Cuttlebug Embossing - Tutorial

After being asked many times how to create a continuous background using the Cuttlebug A2 folders I thought I would show you how I do it. One thing to bear in mind is that it will only work with repeated patterns, and word folders just won't cut the mustard with this technique

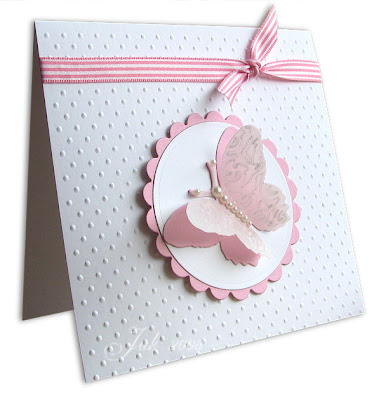
I started with a 14x14 cm tent fold card

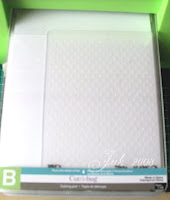
Wrap the cuttle bug folder around the card, this card is a tent fold card so I am wrapping the folder with the closed edge of the folder at the bottom of the card.

Next run this though the Cuttlebug.


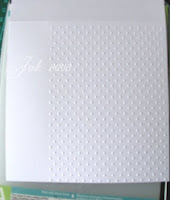
You can see that only part of the card is embossed


Next move the embossing folder across the card to emboss the other side matching up the dots by overlapping the folder over the already embossed dots.

Then run this through the Cuttlebug.

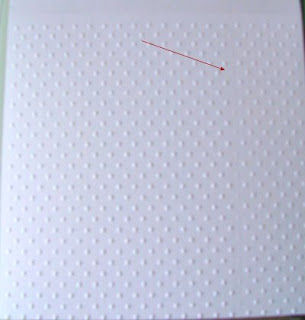
You can see from where the arrow is pointing that the folder has flattened some of the embossing, this is easily fixed as shown in the next step.


Match up the pattern by wrapping the folder around the card where you first started being careful to match up the embossed parts, this can be easily seen through the folder as it is transparent.
Once you have matched up the folder run your finger down on top of where the flattened embossing was, this will easily pop back up as it has already been embossed once.


as you can see no gaps can be seen


& there we have it, the finished card


Creating a Background Pattern

Using the new Guide lies stamp by PTI I created the backgound pattern on the card using the versamark ink pad. I stamped up the OUT on a Limb stamp set using Spring Moss and Lavender Moon Palette inks and added dimond stickles over the blossoms to make them pop. I added a couple of stones to the corners and finished with a Plum Pudding Grosgrain Ribbon.