Friday 21 November 2014

Time to Play Home Decor

I made some wall art earlier in the year and I have had this project on hold waiting to find the time to do it.

So let the play begin.


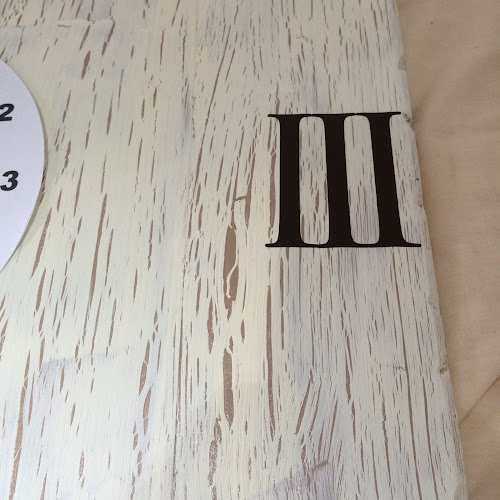
It started with Chris sticking floor boards together for me after deciding what shape I wanted and then me painting it to match my previous wall art, I love this old peeled paint look.

Can you guess what it is yet?

Let's start adding the vinyl.


Need to add lots more.


Now this is a work in progress and I'll add the finished project in due TIME.....


Wednesday 19 November 2014

Crochet Bunny

Meet Maisy, my crochet bunny made with Alpaca wool, she was a he but I felt like something was missing so I added a little bow as a finishing touch and so Maisy was born.


This is what I have been doing while I am at Create and Craft TV in between my shows. I also have a blanket on the go at home but this was the perfect size for traveling.


Create and Craft makes


A few makes from last weeks shows.

Scrapbook page of myself and my eldest Daughter Lauren


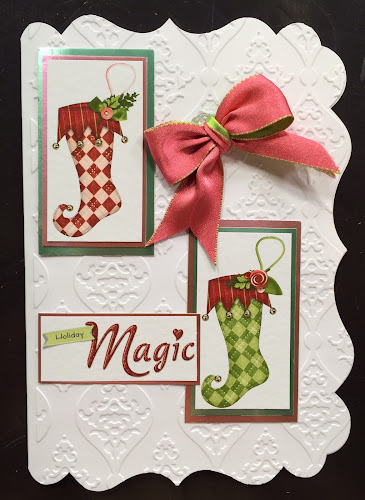
Easy Christmas card


And another


Wednesday 12 November 2014

Brigade Cards

As a rule of thumb I don’t take card orders, I am always too busy to do them and stress myself out over them yet as soon as a request came from one of Chris’s past work mates from the Brigade came in I said yes.

So I hope he will like them, I had made this card as a thank you card for Chris when he left the Brigade and it is still pinned up on the notice board hence the request.

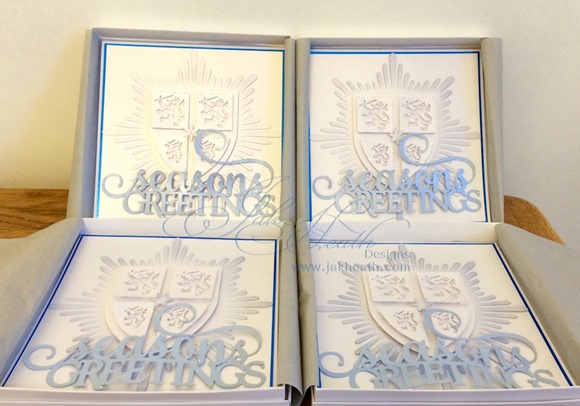
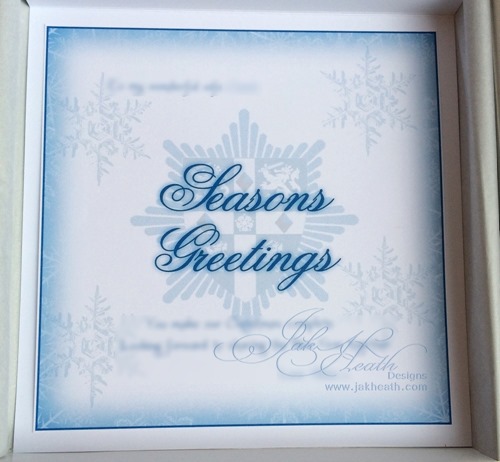
All four finished boxed and wrapped with tissue to make it pretty.

Brigade card2

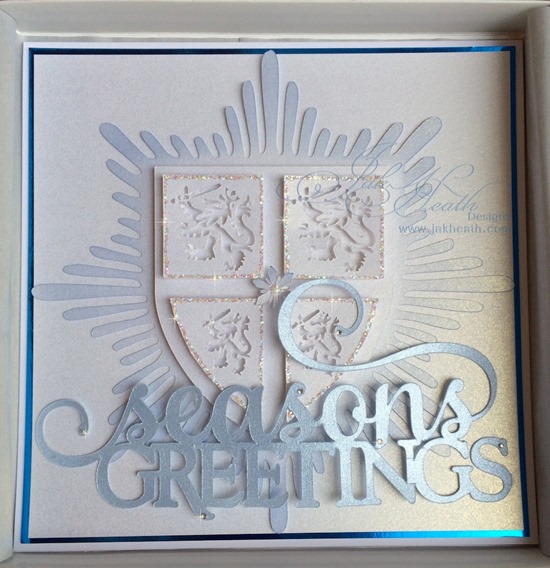
Close up

Brigade card1

and the inside, sentiment and names blurred out.

Brigade card3

Jak Signature

Monday 27 October 2014

Flower Making

Sometimes we tend to over complicate things don’t we?

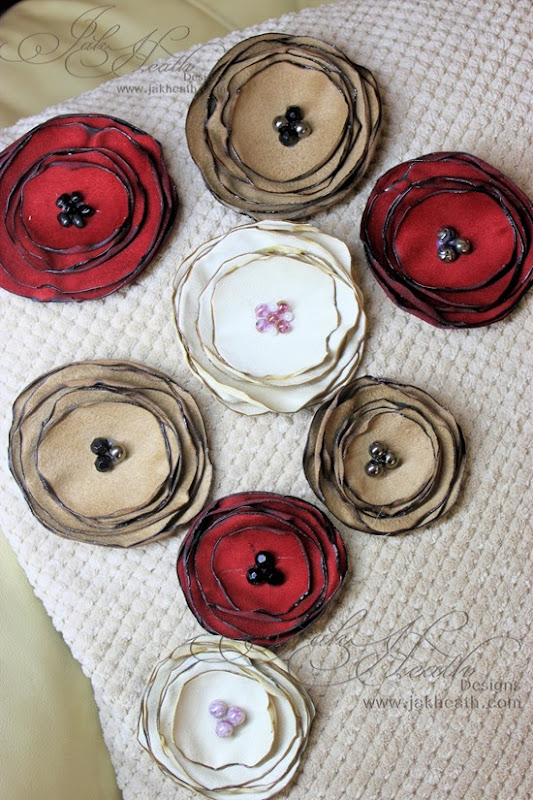
I decided I wanted to make some simple flowers for home decor, the easy way, something simple yet stylish, something that wouldn’t take me hour and hours of time.

I decided that material was the way to go and I spotted some gorgeous Suede fabric over on Terry’s Fabrics that would be perfect for what I wanted.

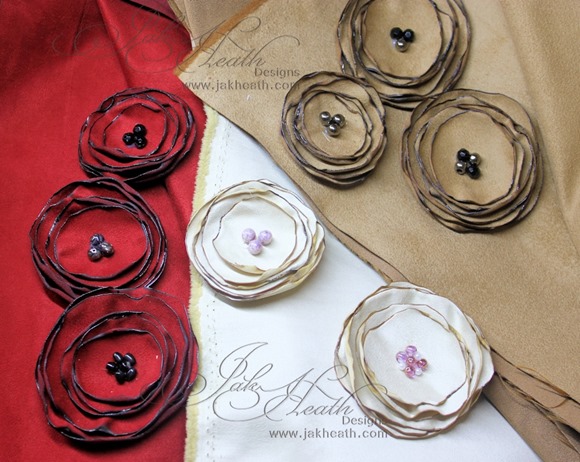
Simple we said right? lets start by cutting 3 circles, not perfect circles just roughly cut by hand, now cut out 3 smaller circles again by hand, they do not need to be uniform sizes in fact they turn out better if they aren’t uniform.
suede flowers2

Next light a candle maybe a tea light or a scented one just to add fragrance to the house while you work, take one of the circles and run the edge of it over the flame, this will seal the edge and give it a darker edge, continue to do this with the rest of your circles. Be responsible and keep fingers out of the way and do not leave the candle burning unoccupied.

Next we need to stick the layers together with the larger circles on the bottom and the smallest to the top, you can do this by sewing them together, using a fabric glue or if like me you like quick results a hot glue gun.

Next find some beads to add to the centre, I hot glued mine but you could sew them in place.

Tadaaaa your done.
suede flowers1 

Jak Signature

Friday 24 October 2014

Amanda, Chameleon Pens and Couture Dies

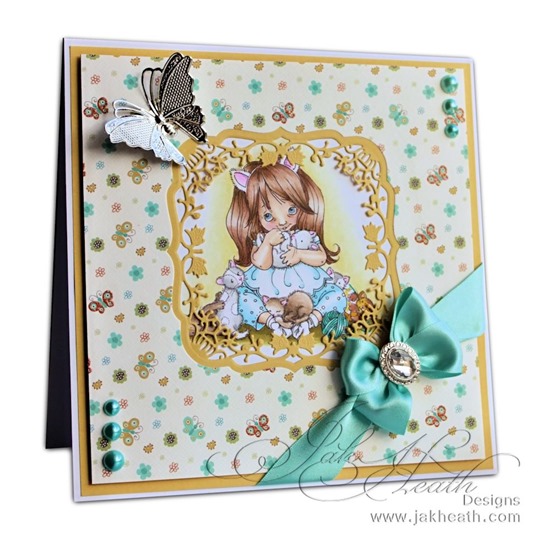
A pretty little card using Amanda image by Mo’s Digital Pencil 
Amanda1_Jak_Heath
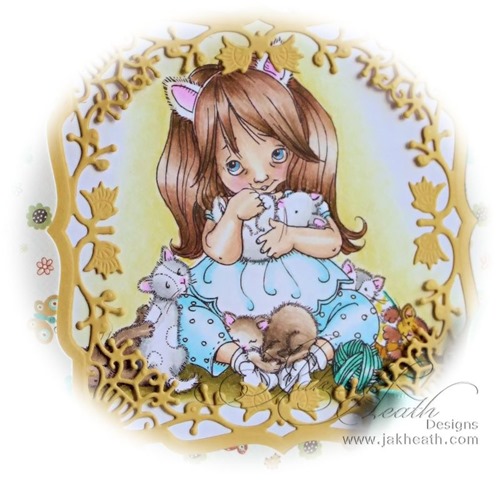
I used the Chameleon Pens to colour the image and the Couture Dies (Summer Blossom)to create an aperture frame for the image.
Amanda2_Jak_Heath
Colours used:- Fawn, Bisque and Bubblegum for skin, Grey, Bark and Hot Cocoa for Hair, Sky Blue for clothes, Bark and Hot Cocoa for cats, Aqua Marine for Wool.
Jak Signature

Friday 17 October 2014

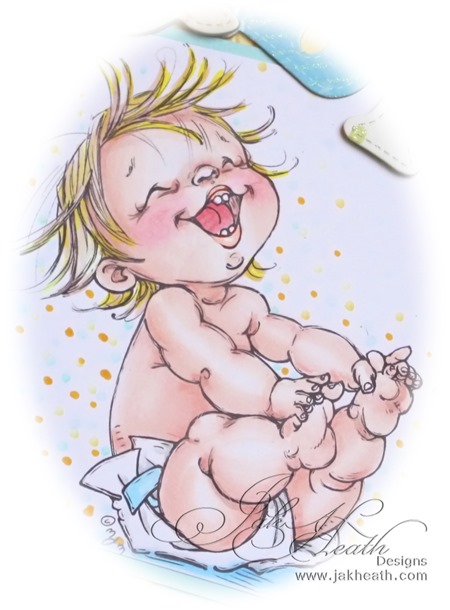
Happy Babe with Chameleon Pens

I had another play today with the Chameleon Pens, I love that I now wont have to carry hundreds of pens around with me to get good results when colouring images. It took me a little while to get used to them and playing is the key to that, not worrying about spoiling an image, after all it is a piece of paper and can be started again, I printed out a couple of practice images to test on before I used the images that I wanted for cards.
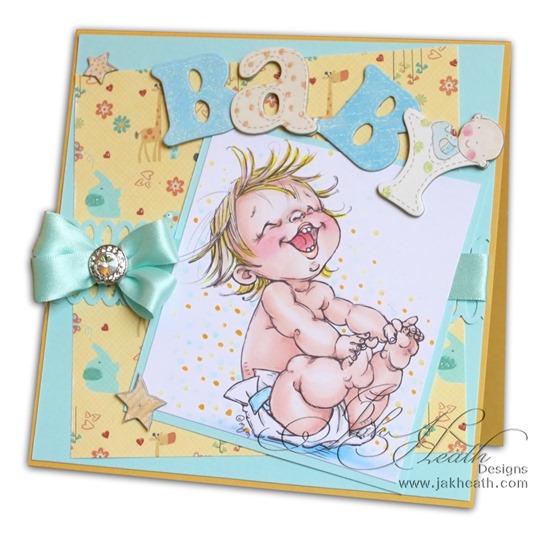
This image is called Happy Babe and can be found at Mo’s Digital Pencil 
Happy babe1
As you can see, blending with the Chameleon Pens works beautifully, I used Bubblegum for his cheeks, Bisque and Fawn for his Skin, Crimson Red for his Tongue, warm Sunset and Bark for his Hair, Cool Grey and Sky Blue for his Diaper and Royal Blue for the shading below him.
Happy babe2
Jak Signature

Wednesday 8 October 2014

Couture intelligent Dies

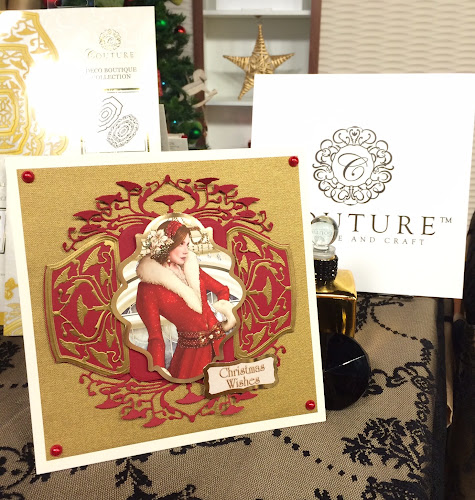
I've had the honour this week of showcasing the brand new Couture Dies by Create and Craft, when I first got the dies I thought ok more dies as I'm sure many of you out there thought the same, I have to tell you that I couldn't have been more wrong.

Why intelligent? They are intelligent because each die of the same design interacts, corners fit inside templates, wether you cut out the corner pieces or place them inside the template to do a design cut out of them, the trims frame the template or work on their own to create the most stunning mat or main desin piece, the flip flip dies create a card all on their own yet can incorporate the trims and the templates.

It is the die system that just keeps on giving. There is 6 designs to choose from and today's card was made using the Deco Boutique Set.

This card uses the main template die, the corners and one of the trims.

The image is a Debbie Moore Deco lady.